Database integrations (PostgreSQL, MySQL, MongoDB)
Connect your own PostgreSQL, MySQL, or MongoDB database and sync bank data straight into a table or collection.
8 min read
On this page
BankSync can write your synced bank data directly into a database you own. Add a connection once, point a feed at a table (or collection), and every sync lands rows where your apps and dashboards already read from.

Before you start
Supported databases#
BankSync connects to three database engines today:
PostgreSQL
Syncs to a Postgres table. Also works with Postgres-compatible services (Supabase, Neon, Timescale, CockroachDB).
MySQL
Syncs to a MySQL table. Also works with MySQL-compatible services (MariaDB, Aurora MySQL, PlanetScale).
MongoDB
Syncs to a MongoDB collection. Works with self-hosted MongoDB and Atlas.
For Postgres the two container tiers are called Schema and Table. For MySQL they are Database and Table. For MongoDB they are Database and Collection.
Step 1: Add the database connection#
Add a connection
Open Add Connection
From your BankSync workspace, go to the Integrations tab and click "Add Connection".
Choose your engine
In the Add Connection dialog, the database engines appear under the "Databases" group. Search for "Postgres", "MySQL", or "Mongo" if you don't see it, then click the one you want.
Enter your connection details
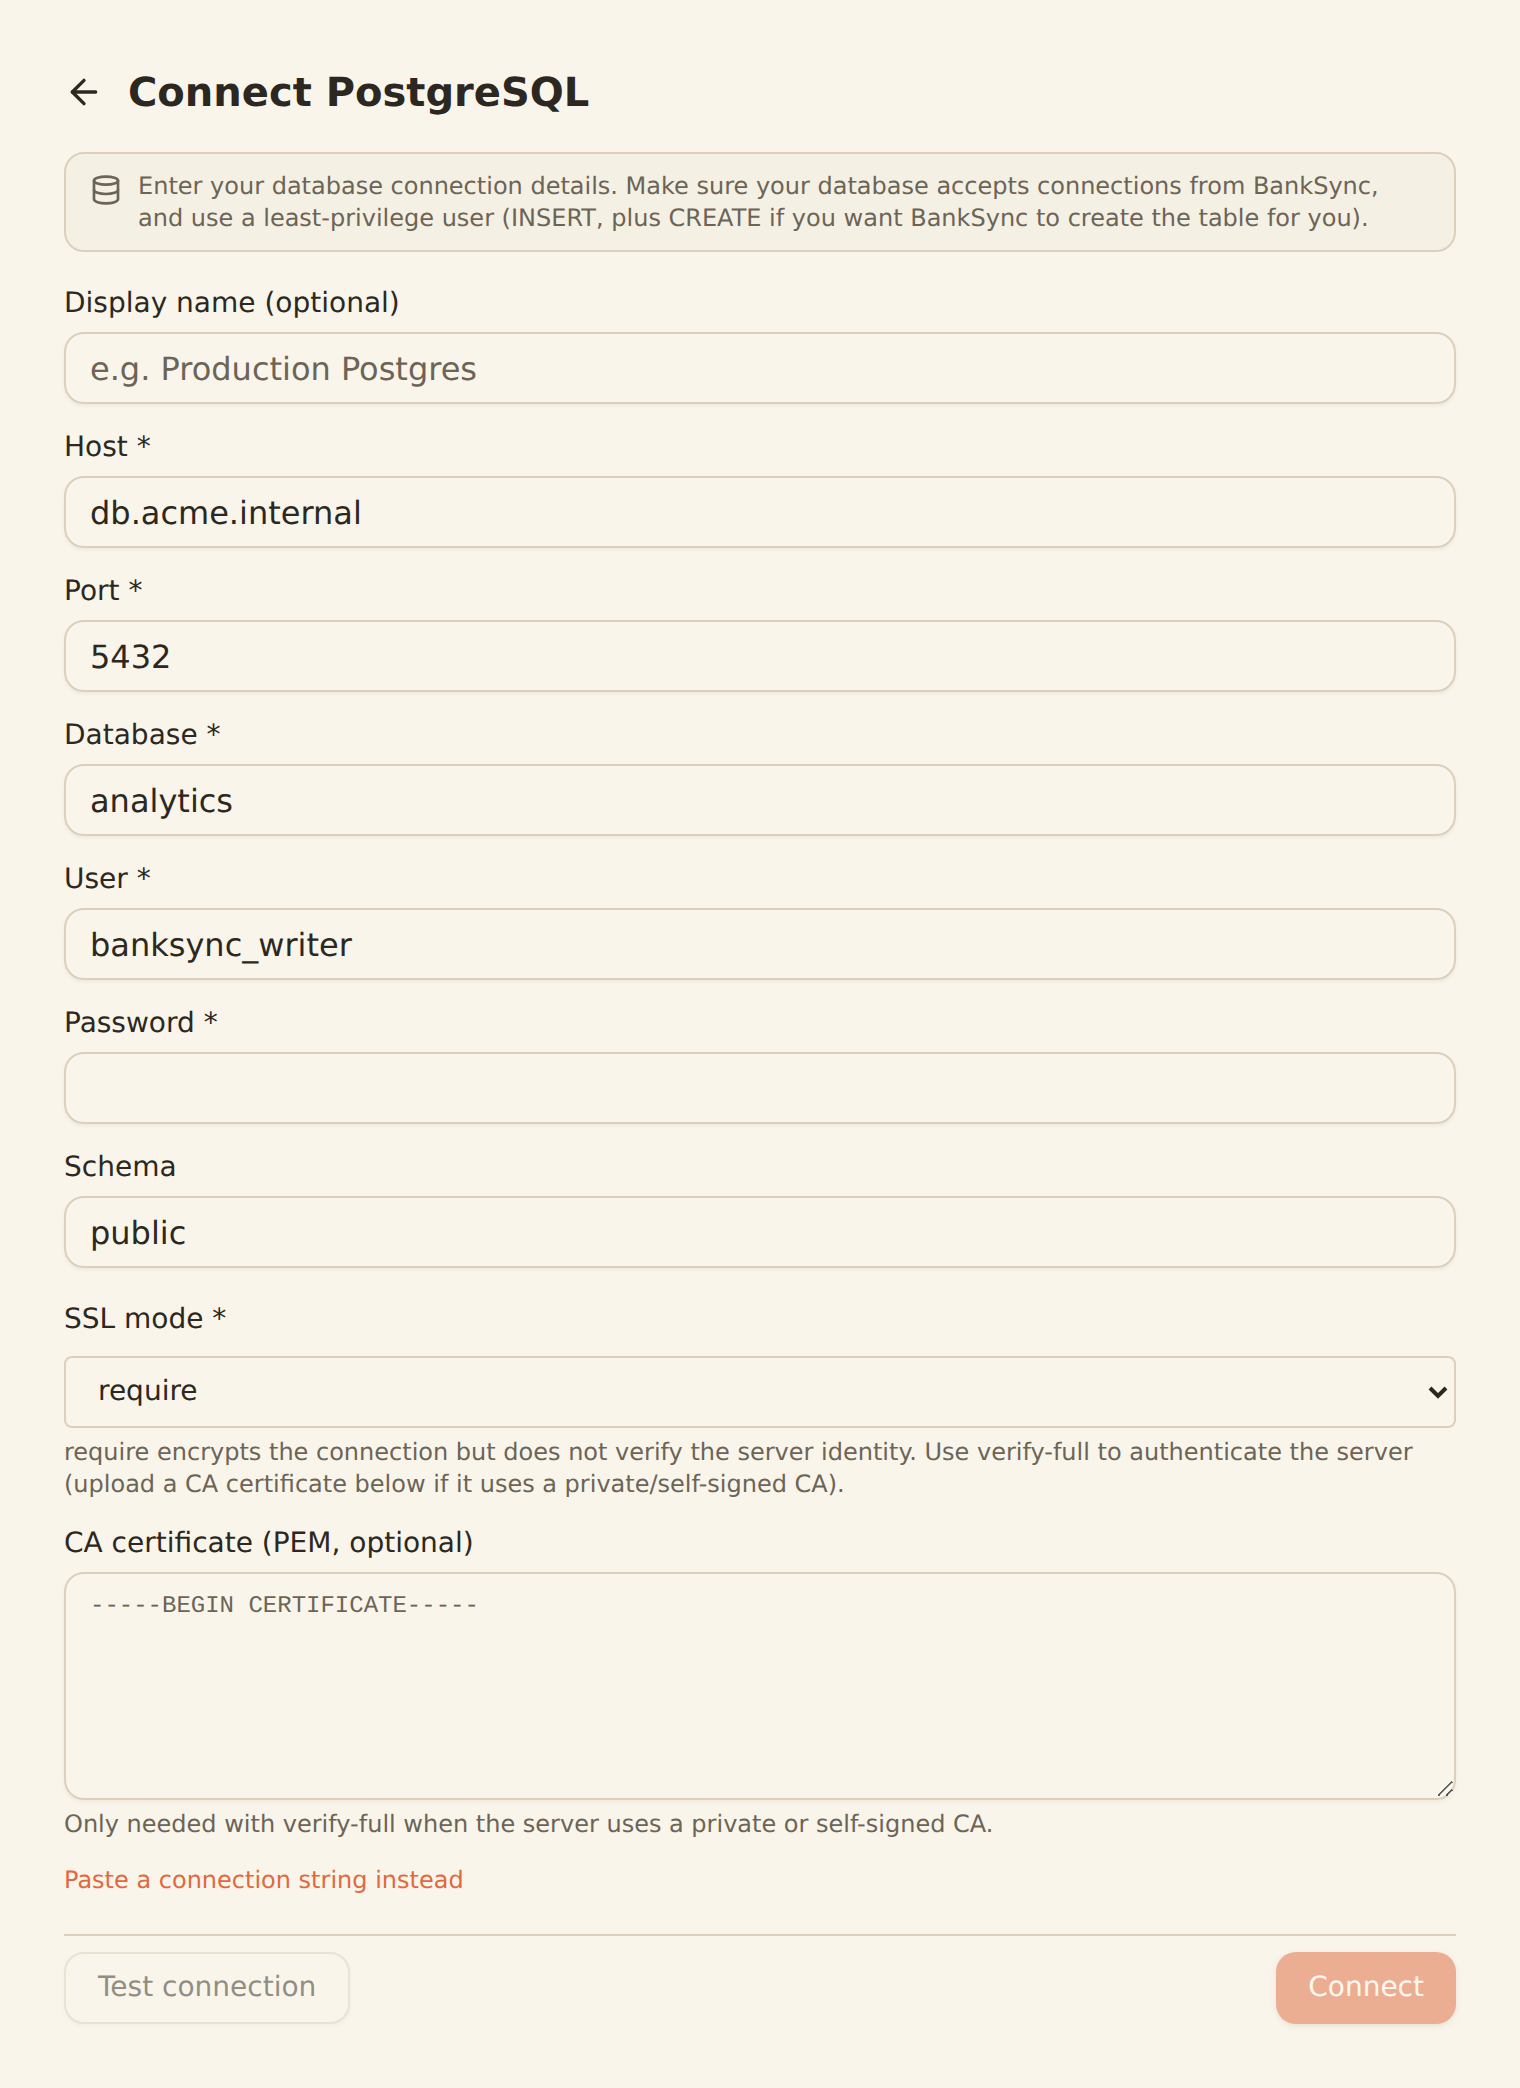
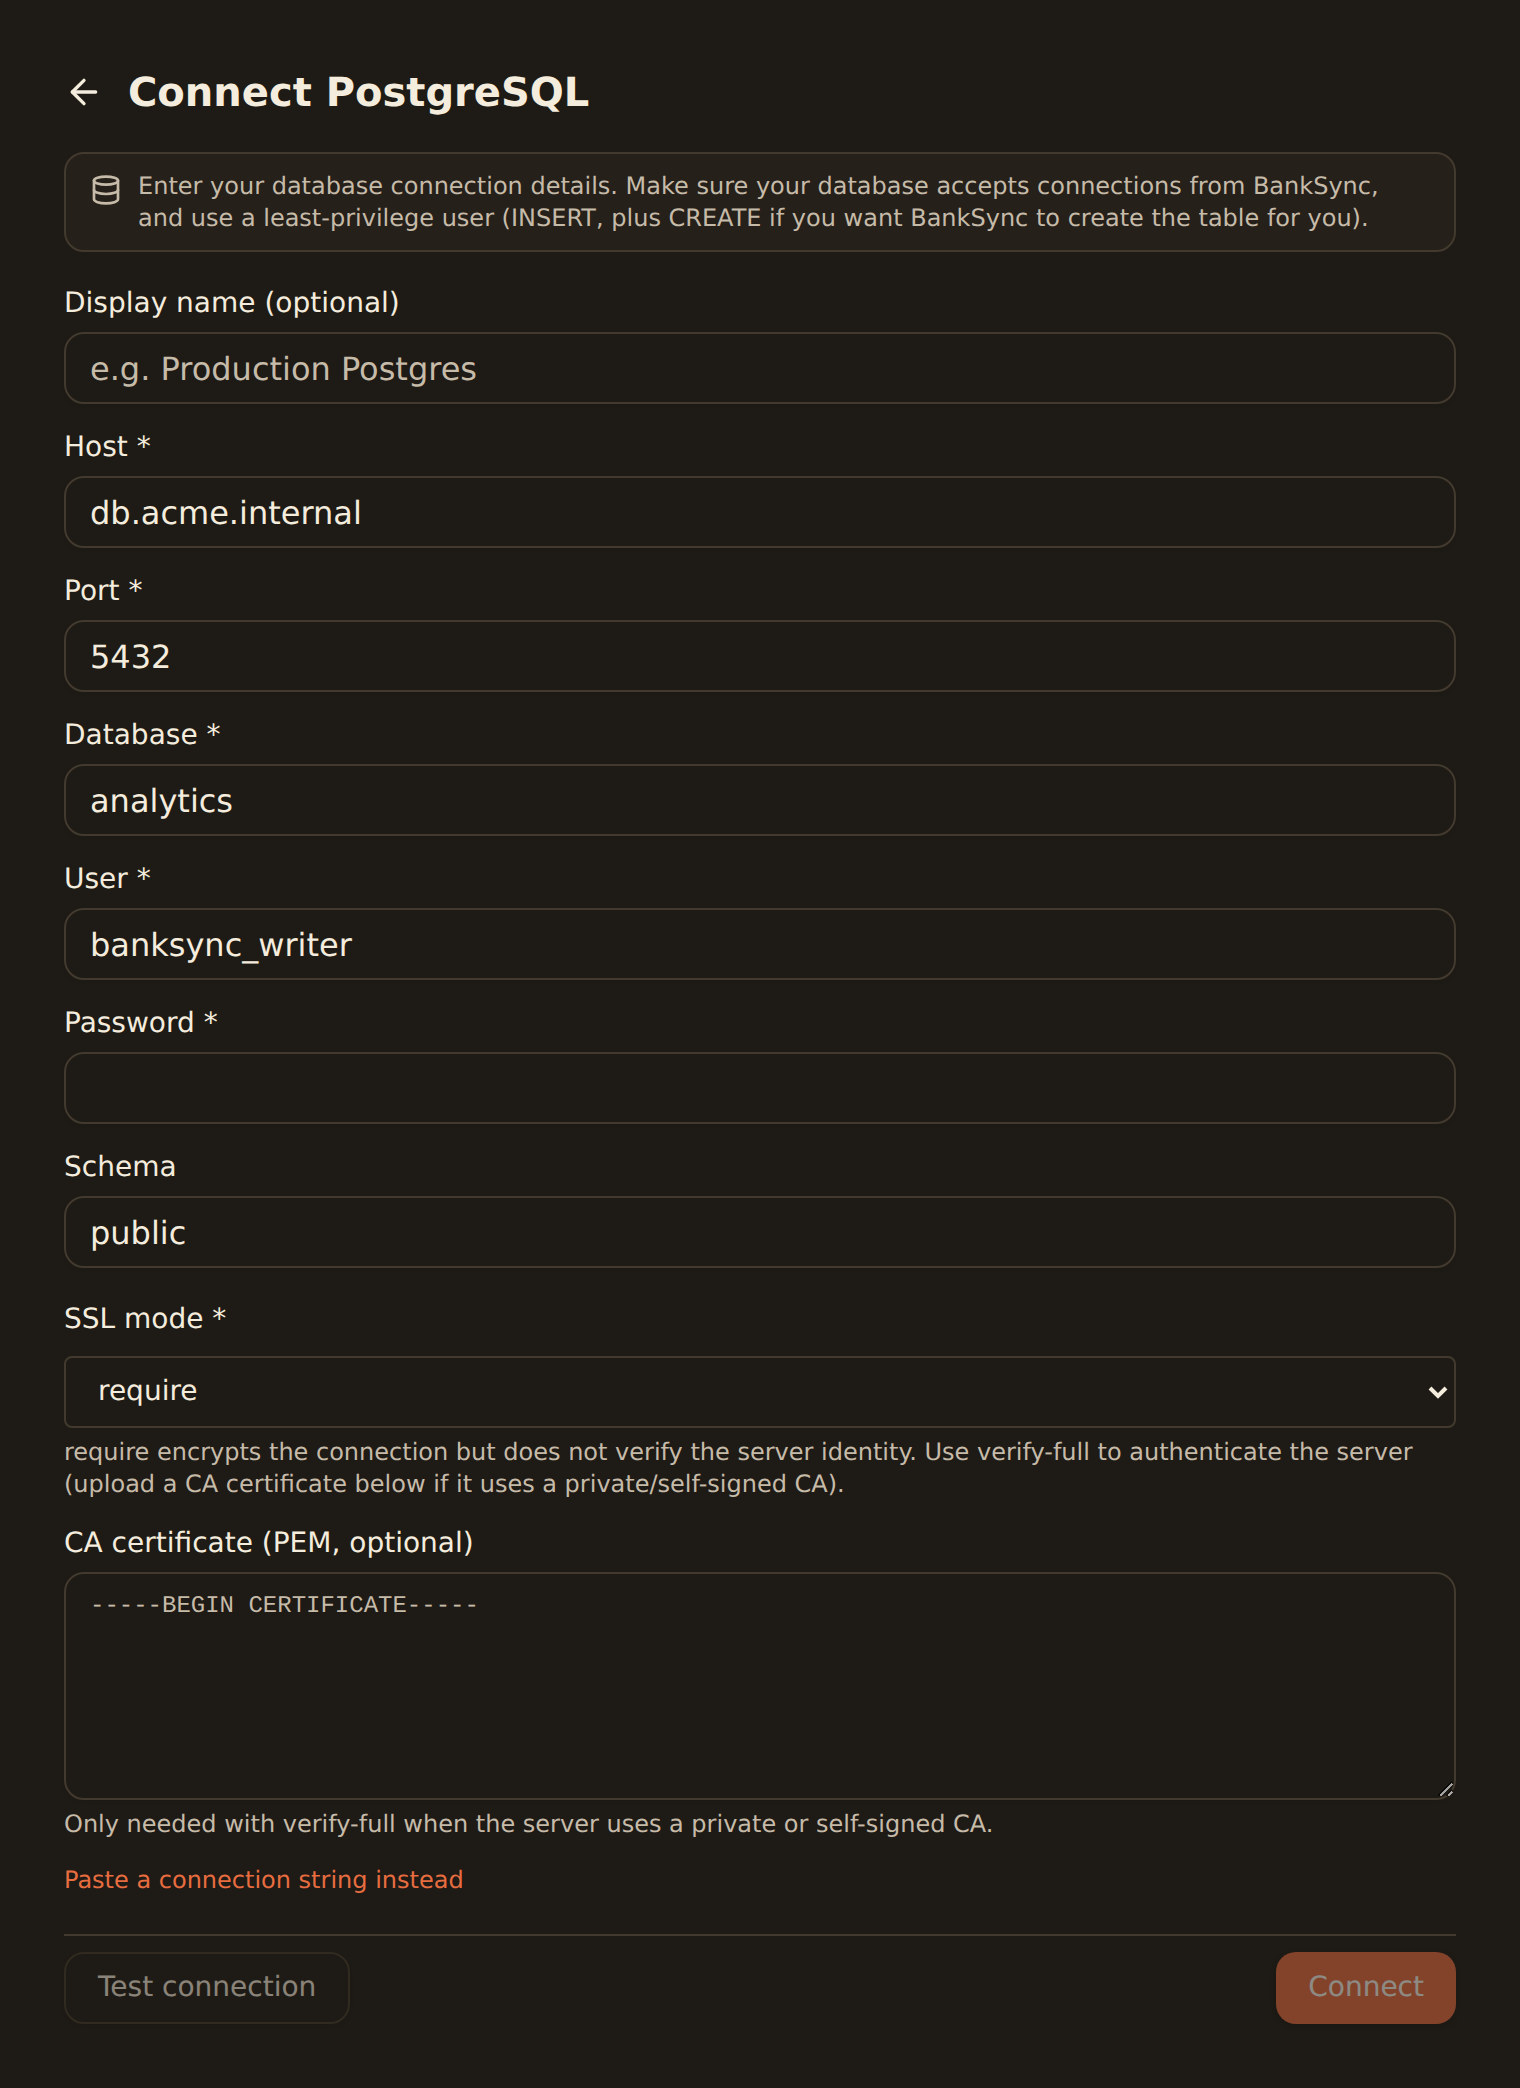
Fill in the connection fields (see the field list below). You can also click "Paste a connection string instead" to auto-fill the form from a URL like postgresql://user:password@host:5432/database.
Set the SSL mode
Pick an SSL mode. The default is require, which encrypts the connection. Use verify-full to also authenticate the server's certificate (see the SSL modes section below).
Test the connection
Click "Test connection". A "Connection successful" message confirms BankSync can reach and authenticate against your database.
Save it
Click "Connect". The connection is saved and appears as a card on your Integrations tab, ready to pick in a feed's Destination tab.
Use a least-privilege user
Connection fields by engine#
Required fields are marked with an asterisk in the form. Give the connection an optional Display name so it is easy to recognise later.
PostgreSQL#
| Field | Required | Default | Notes |
|---|---|---|---|
| Host | Yes | Database hostname or IP | |
| Port | Yes | 5432 | |
| Database | Yes | ||
| User | Yes | ||
| Password | Yes | ||
| Schema | No | public | |
| SSL mode | Yes | require | disable, require, or verify-full |
| CA certificate (PEM) | No | Only with verify-full when the server uses a private or self-signed CA |
MySQL#
| Field | Required | Default | Notes |
|---|---|---|---|
| Host | Yes | ||
| Port | Yes | 3306 | |
| Database | Yes | ||
| User | Yes | ||
| Password | Yes | ||
| SSL mode | Yes | require | disable, require, or verify-full |
| CA certificate (PEM) | No |
MongoDB#
| Field | Required | Default | Notes |
|---|---|---|---|
| Host | Yes | ||
| Port | Yes | 27017 | |
| Database | Yes | ||
| User | No | A Password is required once a User is set | |
| Password | Conditional | Required when a User is provided | |
| Auth database | No | admin | |
| SSL mode | Yes | disable, require, or verify-full | |
| CA certificate (PEM) | No |
SSL modes explained#
All three engines offer the same three SSL modes. Pick the strictest one your server supports:
| SSL mode | What it does | When to use it |
|---|---|---|
disable | No encryption. | Only for databases that do not accept TLS at all, ideally on a private network. |
require | Encrypts the connection but does not verify the server's identity. | The sensible default for most managed databases. |
verify-full | Encrypts and authenticates the server's certificate (hostname and chain). | When you need to be sure you are talking to your server. If it uses a private or self-signed CA, paste that CA into the "CA certificate (PEM)" field. |
Network security: allowlist BankSync's IP#
If your database has a public endpoint, you can lock its firewall down so it only accepts connections from BankSync. BankSync always connects to your database from a small, fixed set of IP addresses, so you allowlist them once and leave them in place.
Allowlist these IP addresses
BankSync connects to your database from these fixed IPs. Add them to your database firewall so it accepts BankSync and nothing else.
Where to add the allowlist rule
| Where your database is hosted | Where to add BankSync's IP |
|---|---|
| Supabase | Project Settings → Database → Network Restrictions → add each IP as an allowed address (e.g. 203.0.113.10/32). |
| Amazon RDS / Aurora | The database's VPC security group → add an inbound rule for the database port from each IP (/32). |
| Google Cloud SQL | Connections → Networking → Authorized networks → add each IP (/32). |
| Azure Database | Networking → Firewall rules → add a rule for each IP. |
| Neon | Project → Settings → IP Allow → add each IP. |
| MongoDB Atlas | Network Access → IP Access List → add each IP. |
| Self-hosted | Your host firewall (e.g. ufw, security group, or pg_hba.conf plus the OS firewall) → allow the database port from each IP. |
Step 2: Point a feed at a table or collection#
A connection on its own does not move data. To start syncing, attach it to a feed.
Pick the database in a feed
Create or open a feed
Follow Creating your first feed to pick the accounts and data type you want to sync, then open the feed's Destination tab.
Choose the database in the Destination tab
In the feed's Destination tab, select your database connection card.
Pick the target container
Use the two-level picker to choose where rows land. For Postgres pick a Schema then a Table; for MySQL a Database then a Table; for MongoDB a Database then a Collection. Type in the search box to filter.
Or let BankSync create the table
If you don't already have a target, use the "Set this up for me" panel. BankSync can create a new table (or collection) for the feed's data type and map every column automatically in one click.
Choose how rows are written: Append vs Upsert
Confirm it worked#
You're set up correctly when all of the following are true:
- The connect form showed "Connection successful" before you saved, and the connection appears as a card on your Integrations tab.
- In the feed's Destination tab, the picker shows your chosen Schema/Database and Table/Collection filled in (not empty).
- After the feed runs a sync, the rows appear in your database. Query the target table or collection directly to verify, for example a row count or the most recent rows.
Connection health states#
Database connections do not use OAuth tokens, so they never "expire" on a timer, but they can break when something changes on your side. BankSync reports one of four health states on the connection:
| State | What it means | Typical fix |
|---|---|---|
ok | BankSync can reach and authenticate against the database. | Nothing to do. |
auth_failed | The server rejected the credentials. | The password was rotated or the user was dropped; open the connection, click "Edit connection", update the credentials, and re-run "Test connection". |
unreachable | BankSync cannot reach the host at all. | The host or port changed, the instance is down, or a firewall / security group now blocks the connection. If you allowlist by IP, confirm BankSync's egress IPs (see "Network security: allowlist BankSync's IP" above) are still allowed. |
tls_error | The TLS handshake failed. | A certificate was renewed or replaced; re-check the SSL mode, and with verify-full update the CA certificate (PEM). |
Troubleshooting#
If the connection test fails
Next steps#
Now that your database is connected, finish wiring up the feed and choose your write mode.
Create your first feed
Related guides#
- Creating your first feed: pick accounts and a data type, then point the feed at your table.
- Configuring field mappings: control which bank fields land in which columns, including Append vs Upsert.
- Managing your integrations: rename, edit credentials, or disconnect the database connection later.
- Managing sync jobs: check run history when rows stop arriving.
Use this page with your AI assistant
Every BankSync doc is available as plain Markdown for agents and LLMs.