Workspaces and team members
Create workspaces, invite teammates, assign Owner, Admin, Editor, and Viewer roles, transfer ownership, and switch between workspaces.
7 min read
On this page
A workspace is the container for everything in BankSync: your connected banks, feeds, integrations, dashboards, and the team members who can access them. Each workspace has its own plan and billing, and every member has a role that decides what they can do. This guide walks through creating workspaces, switching between them, and managing your team.

Before you start
Roles at a glance#
Every member holds exactly one role. Roles are ordered from most to least access, and only the Owner can transfer ownership or delete the workspace.
| Capability | Owner | Admin | Editor | Viewer |
|---|---|---|---|---|
| View data, feeds, and dashboards | Yes | Yes | Yes | Yes |
| Create and edit banks and feeds | Yes | Yes | Yes | No |
| Edit General settings (name, description, icon) | Yes | Yes | No | No |
| Invite, remove, and re-role members | Yes | Yes | No | No |
| Manage billing and the plan | Yes | Yes | No | No |
| Transfer ownership | Yes | No | No | No |
| Delete the workspace | Yes | No | No | No |
One Owner per workspace
Roles and seats are plan-gated
Create a workspace#
New workspaces start on the free plan with you as the Owner.
Create a new workspace
Open the workspace menu
Click your current workspace name in the top header to open the dropdown.
Choose Create Workspace
Hover Switch Workspace to expand the list, then click Create Workspace at the bottom. The Create Workspace dialog opens.
Name it
Fill in Workspace Name (required), and optionally a Description and an Icon. Click Create Workspace.
Land in the new workspace
After it is created (POST /api/workspaces), BankSync switches you into the new workspace so you can start connecting banks.
Rename or edit the description#
A workspace's name, description, and icon live in Settings > General.
Edit General settings
Open Settings > General
In the settings sidebar, under the Workspace group, click General. (Direct URL: /$wid/settings/general.)
Update the fields
Edit Workspace Name *, the Description, or click the icon tile to pick a new Icon.
Save
Click Save Changes. The button is disabled until the name is non-empty.
View only banner
Switch between workspaces#
The workspace switcher lives in the top header.
Switch workspaces
Open the menu
Click your workspace name in the header.Expand Switch Workspace
Hover (or tap) Switch Workspace to reveal every workspace you belong to. The active one shows a checkmark, any client portal workspace is tagged Portal, and a client workspace shared with your firm is marked Shared with your firm.
Pick one
Click a workspace name. BankSync reloads into that workspace with its own banks, feeds, and billing.
Invite team members#
Invitations are sent by email from Settings > Members. The invitee gets a link and joins once they accept.
Invite a teammate
Open Settings > Members
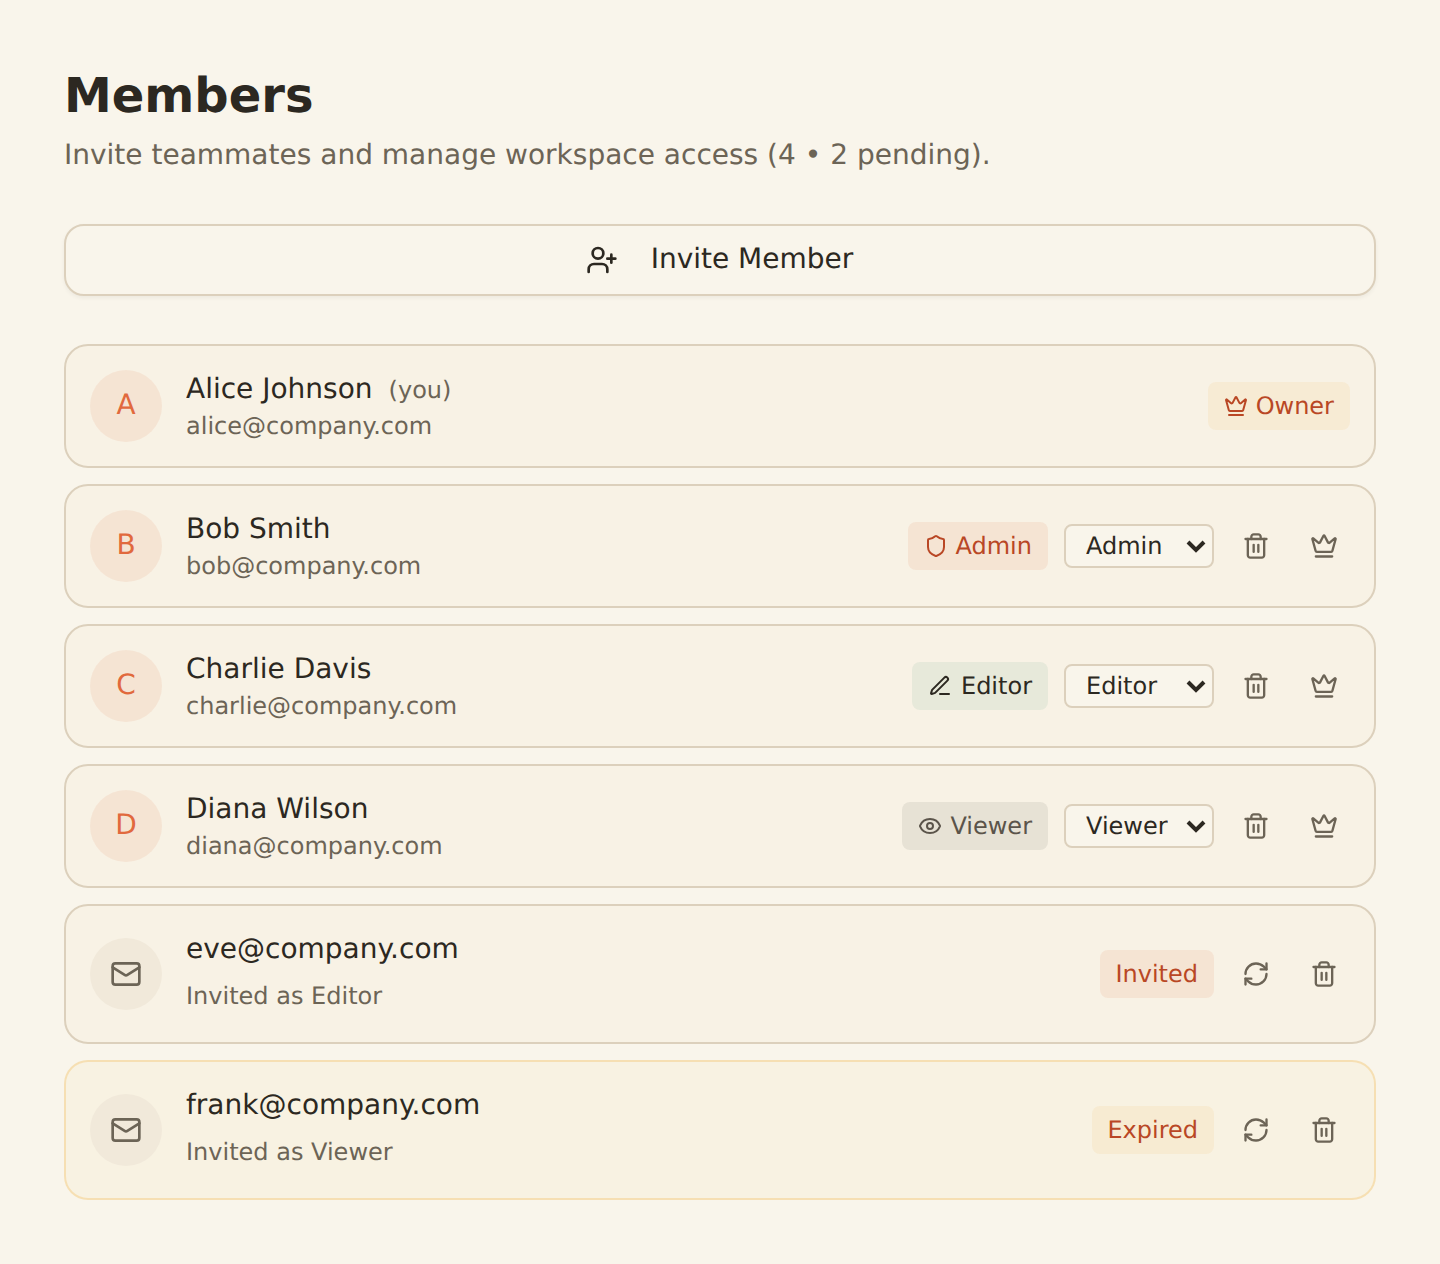
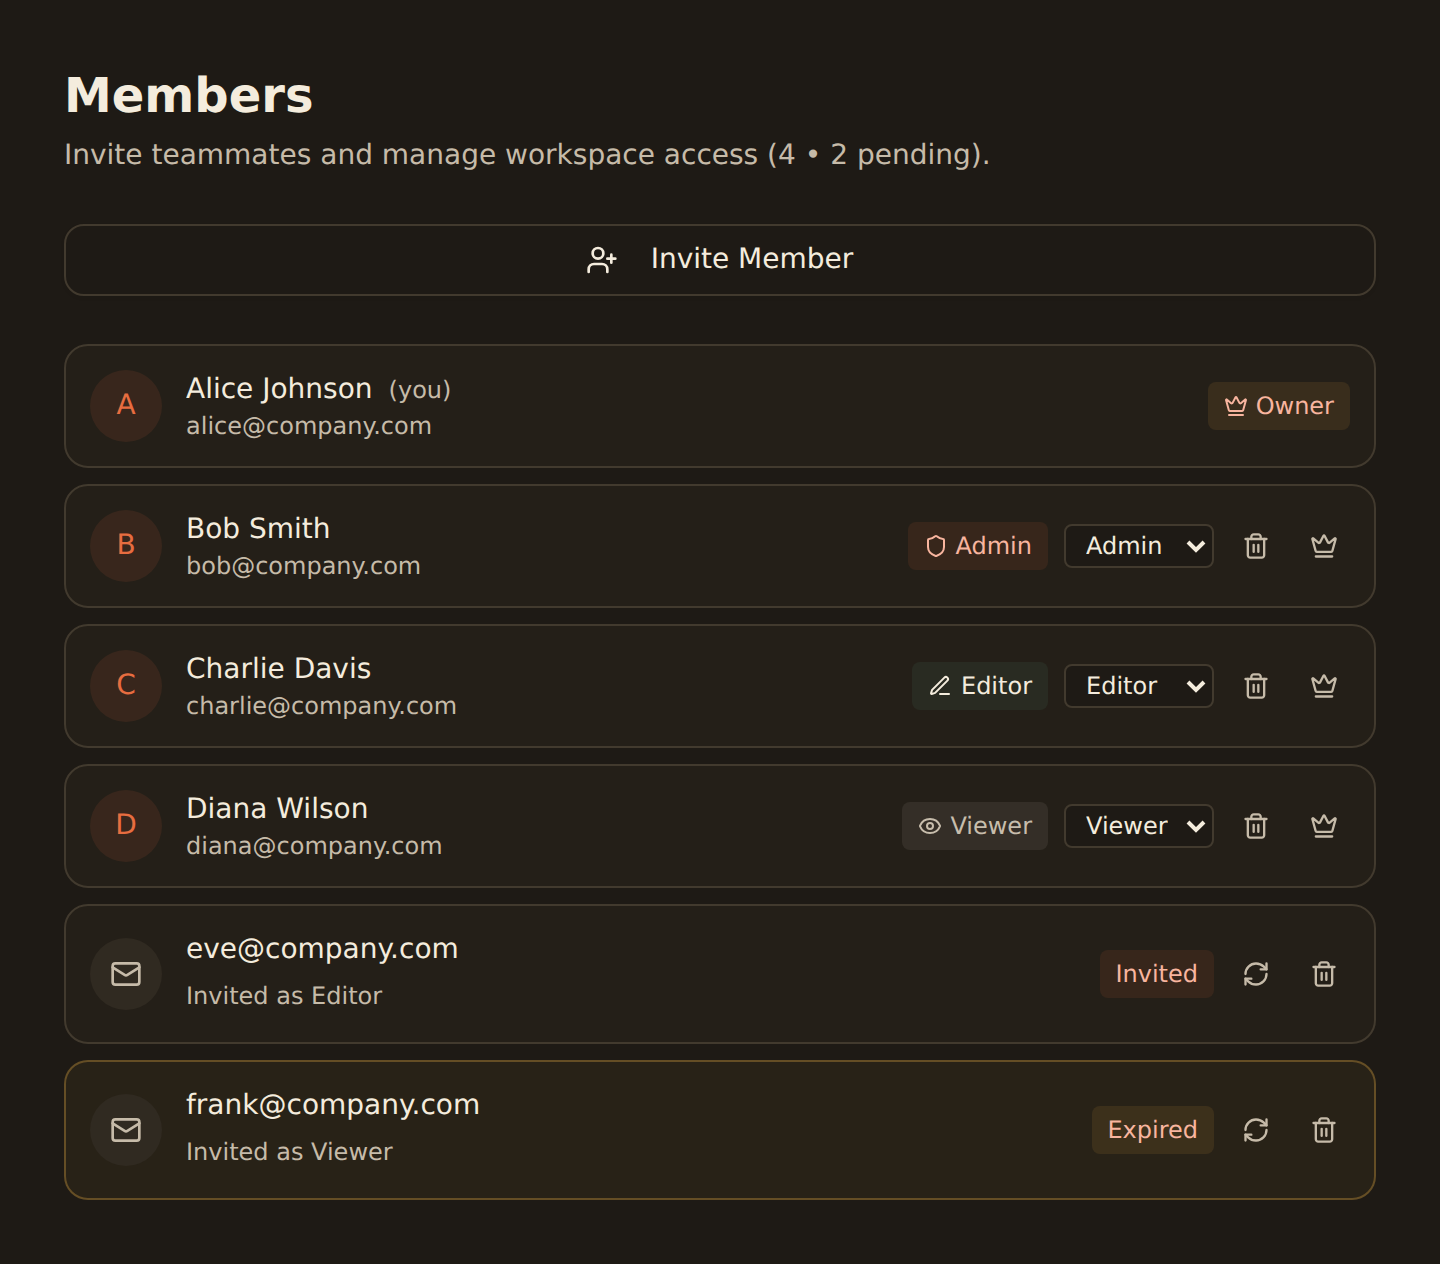
In the settings sidebar, click Members. (Direct URL: /$wid/settings/members.) It lists current members and any pending invitations.
Start the invite
Click Invite Member to open the inline form.Enter the email and role
Type the Email Address, then pick a Role tile: Admin, Editor, or Viewer. (Owner is assigned only by transfer, not by invite.)
Send it
Click Send Invite. The request hits POST /api/workspaces/:id/members/invite, and the address appears in the list with an Invited badge until accepted.
Seat and role limits
Resend or revoke an invitation#
Pending invitations show a Mail icon and the role they were invited as. Each has its own controls.
| Action | Where to click | What happens |
|---|---|---|
| Resend | The refresh (circular arrow) icon on the pending row | A fresh invitation email goes out (POST /api/workspaces/:id/invitations/:id/resend). Use this if it never arrived. |
| Revoke | The trash icon on the pending row | The invitation is cancelled and disappears from the list (DELETE /api/workspaces/:id/invitations/:id). The link stops working. |
Expired invitations
Change a member's role#
Once a teammate has accepted, you can move them between roles at any time.
Change a role
Find the member
In Settings > Members, locate their row. Members are grouped by role, Owner first.Pick a new role
Use the role dropdown next to their name and choose Admin, Editor, or Viewer. The change saves immediately via PATCH /api/workspaces/:id/members/:uid/role, and their badge updates.
You cannot re-role yourself or the Owner
Remove a member#
Removing a member revokes their access immediately. Their connected data stays in the workspace.
Remove a teammate
Open the member's row
In Settings > Members, hover the member you want to remove.Click the trash icon
Click the trash (Remove member) icon. The request hits DELETE /api/workspaces/:id/members/:uid and the row disappears.
Leaving on your own
Transfer ownership#
Only the Owner can hand the workspace to someone else. The new Owner must already be a member.
Transfer ownership
Open Settings > Members as the Owner
The crown icon only shows for the current Owner.
Click the crown next to a member
Click the crown (Transfer ownership) icon on the row of the member who should take over.
Confirm the swap
The transfer runs via POST /api/workspaces/:id/members/transfer-ownership. That member becomes Owner and you are automatically demoted to Admin.
Transfer moves billing too
Confirm it worked#
- A new workspace appears in the Switch Workspace list with a checkmark when active.
- After editing General settings, the new name shows in the header and the switcher.
- An invited teammate appears in Members with an Invited badge, then moves into the active member list with their role badge once they accept.
- After a role change, the badge next to the member reflects the new role.
- After a transfer, the new Owner carries the crown badge and you show as Admin.
Troubleshooting#
Common issues
Next steps#
Manage your plan
Add seats, change tiers, and update billing.
Delete a workspace
Permanently remove a workspace and its data.
Manage your plan and seats
Related guides#
- Managing your plan: seats, add-ons, and the billing controls behind member limits.
- Deleting a workspace: permanently remove a workspace and everything in it.
- Connecting banks: start filling a new workspace with data.
- Set up a client portal: give each client an isolated child workspace; clients you invite there don't use a seat.
- Share your workspace with your accountant: let your accountant's firm work in your workspace without using a seat.
Use this page with your AI assistant
Every BankSync doc is available as plain Markdown for agents and LLMs.