Managing Your Plan & Billing
View your plan and usage, upgrade or downgrade, update your payment method, and manage workspace members and roles in BankSync Settings.
5 min read
On this page
Everything about your subscription and team lives in Settings. This guide shows you where each control is, so you can check your plan and usage, switch plans, keep your card up to date, and manage who has access to your workspace.
Before you start

View your plan and usage#
The Billing section opens on its Overview tab and shows your current plan at a glance.
Check your plan
Open Settings → Billing
In the settings sidebar, under the Workspace group, click Billing.
Read the Your plan card
The hero card shows your plan name, its status (Active, Trial, Payment due, or Cancels on a date), the sync cadence badge, and a billing line such as "$6/mo · billed yearly · renews May 12, 2027". During a trial it reads "Trial ends" with the date and the price that follows.
Review Usage this month
The Usage this month panel shows meters for your current month against your plan limits. Click Detailed report to open your invoices and billing history.
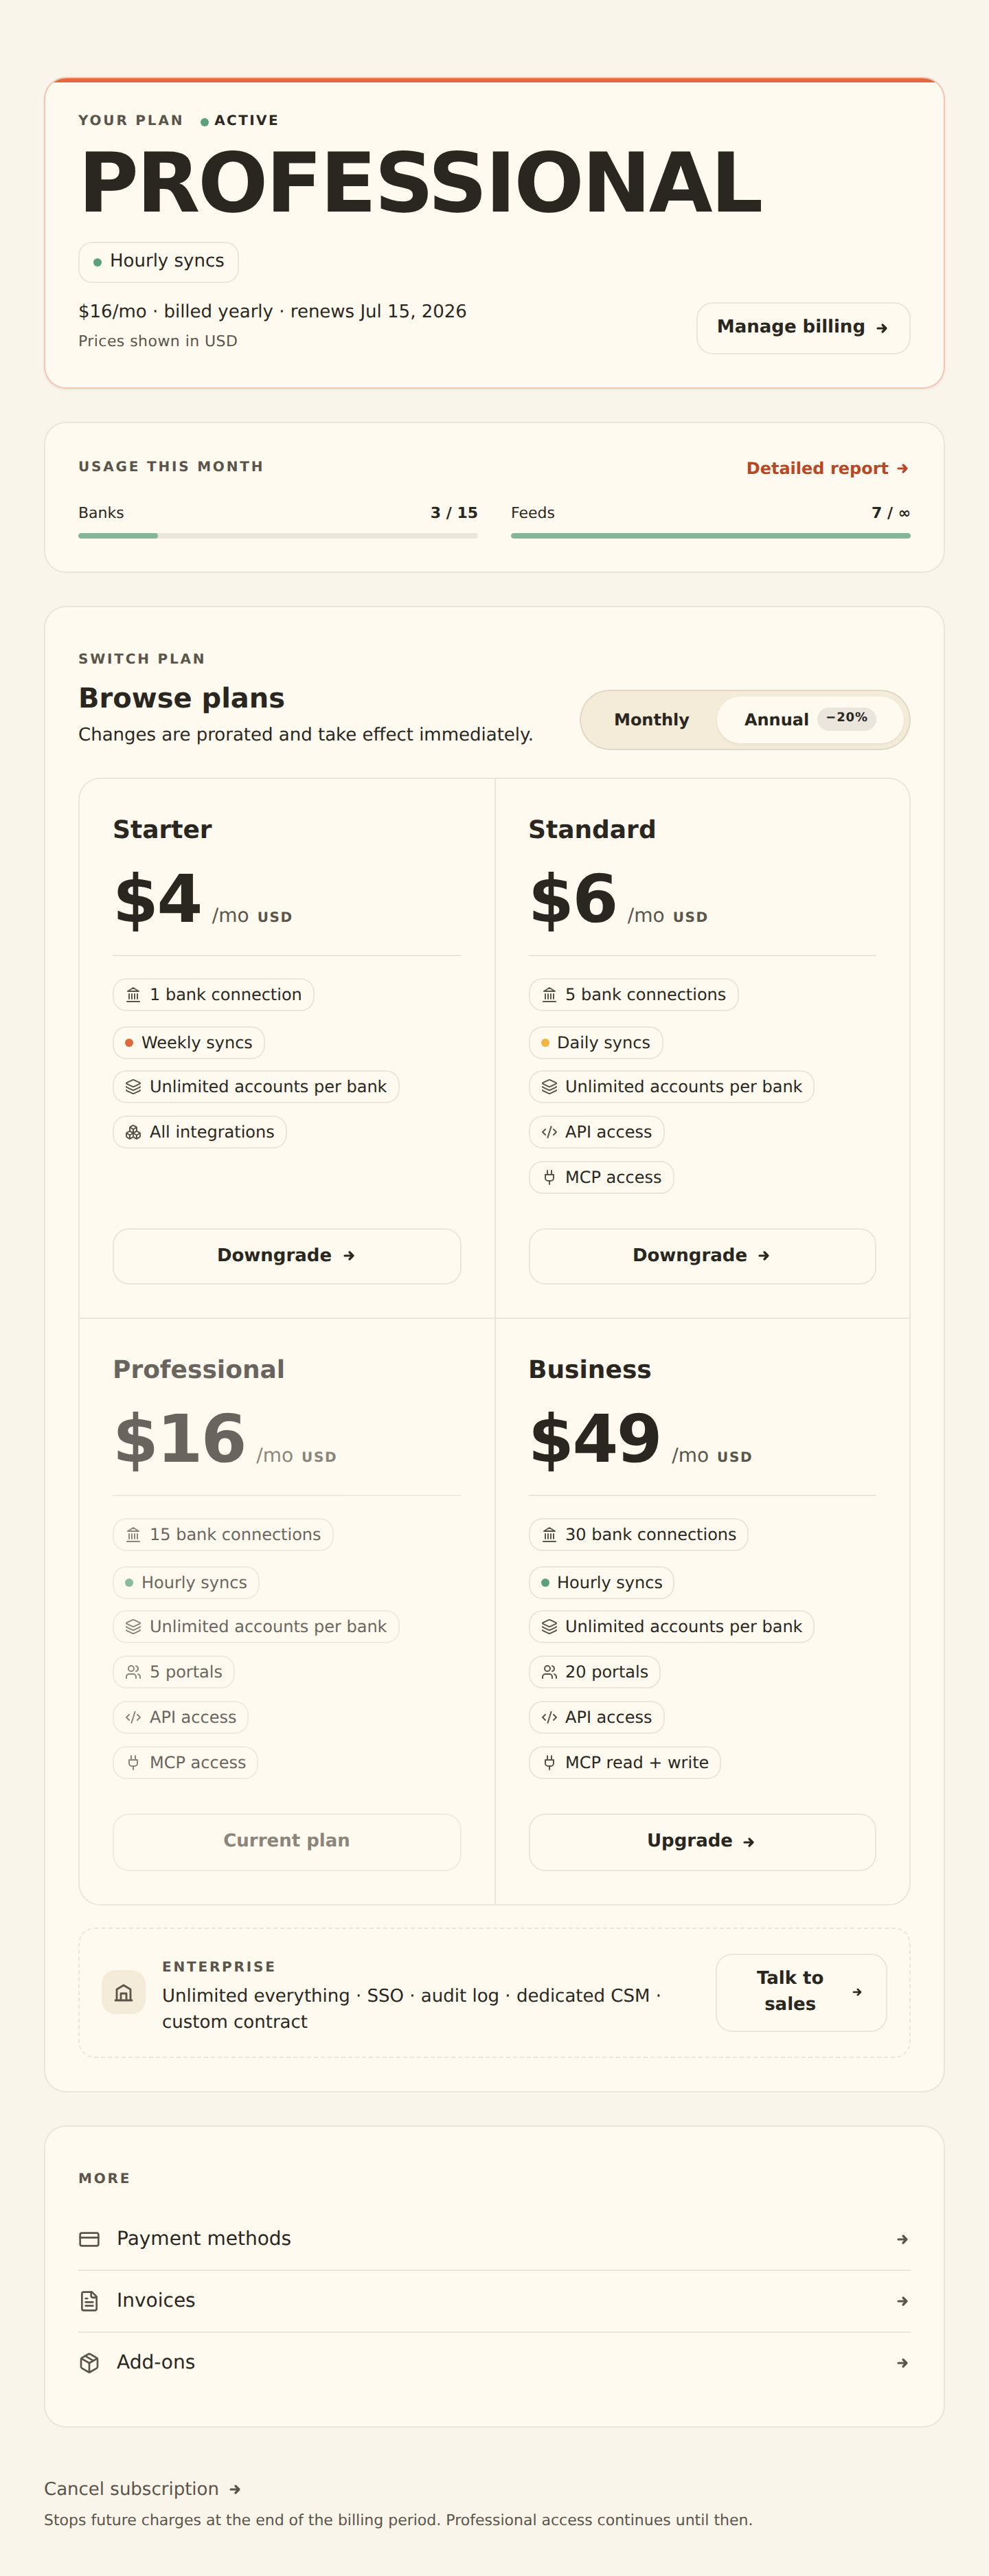
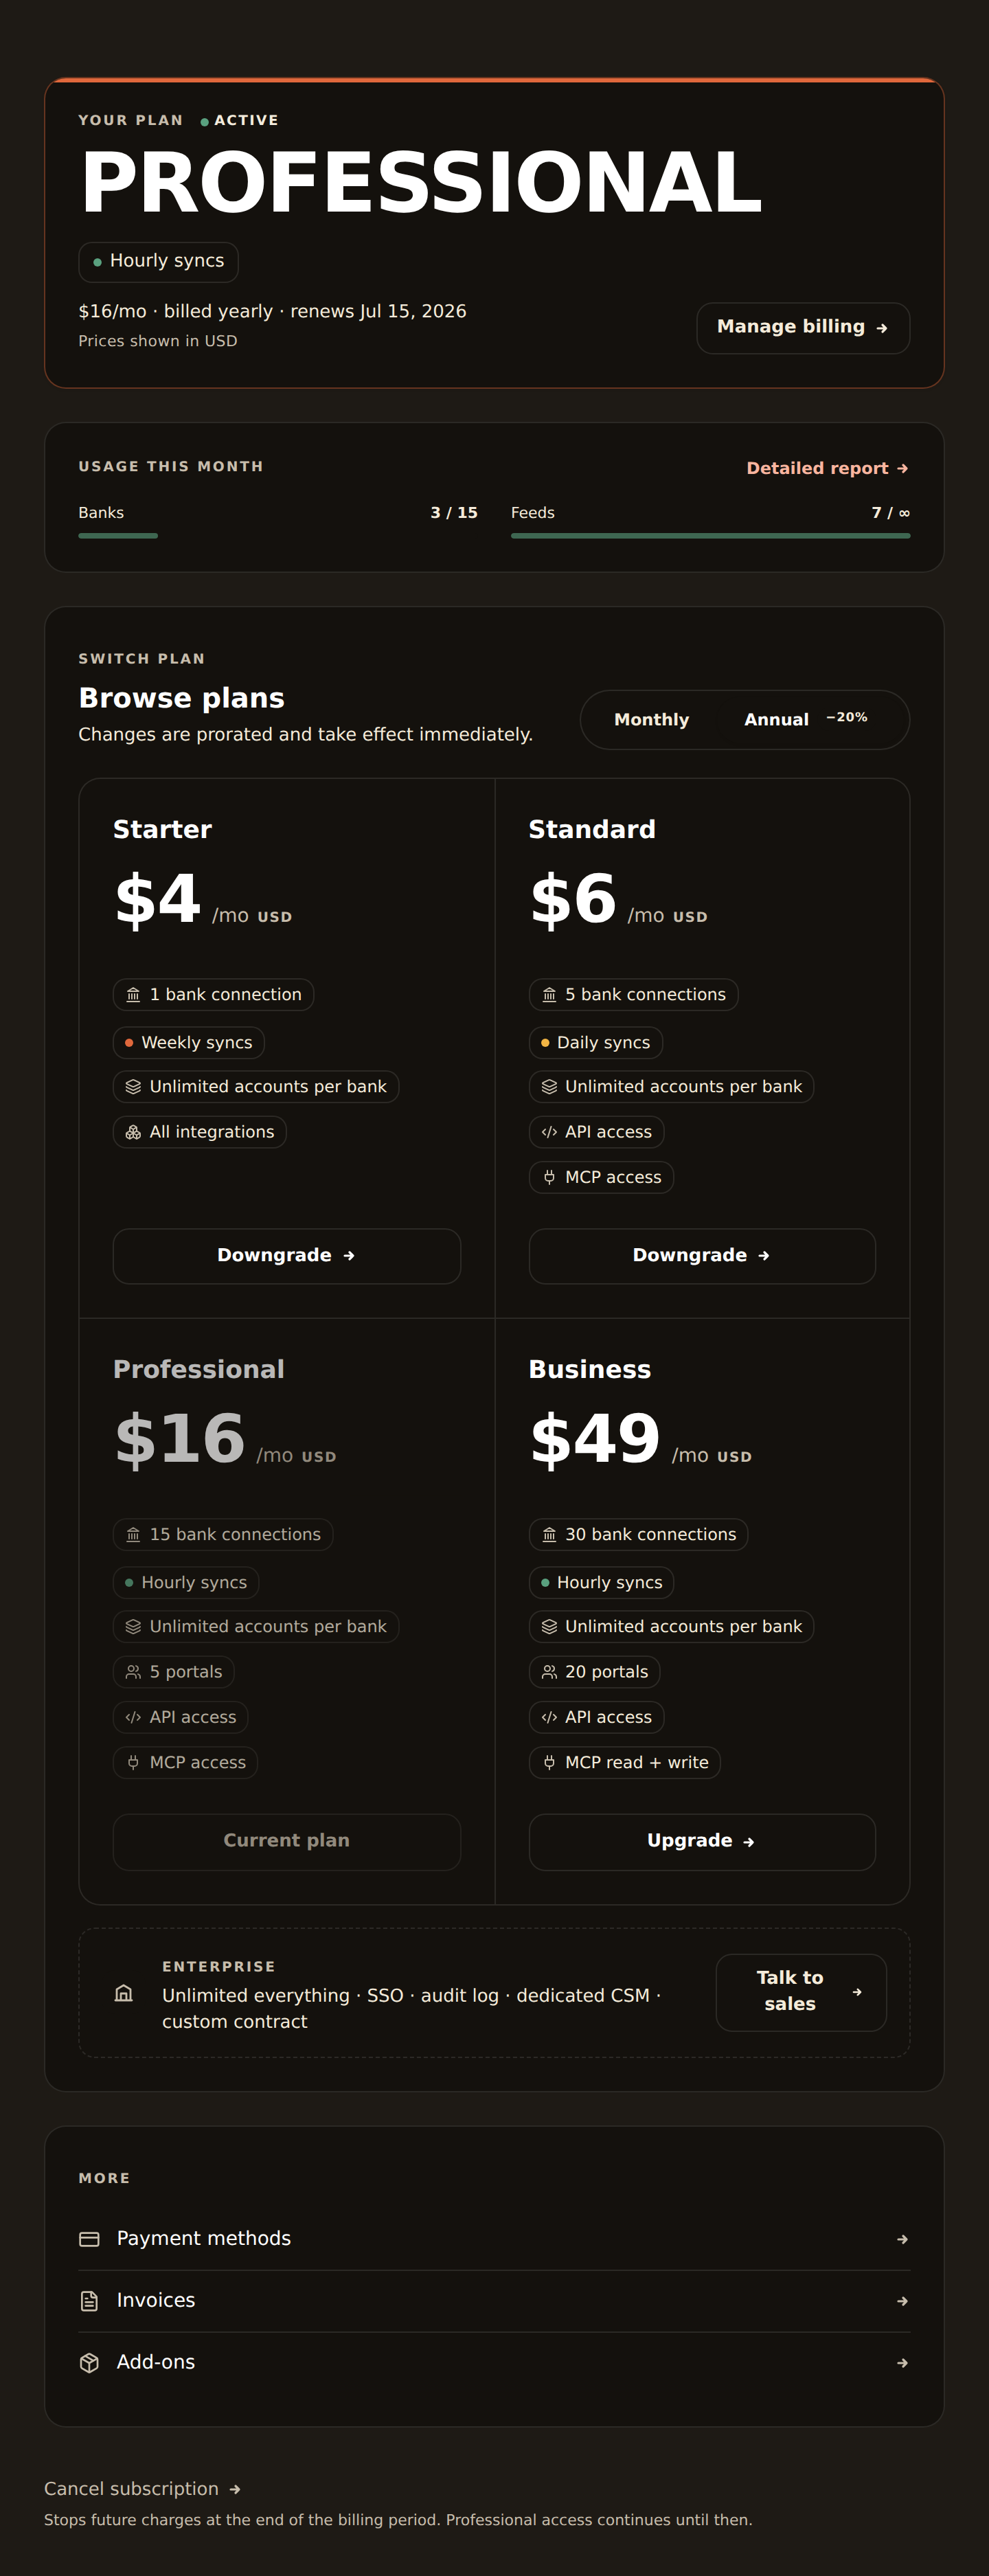
The Billing section uses tabs across the top: Overview, Payment, Invoices, and (on Professional and Business) Add-ons. A Cancel plan tab appears when your subscription is active or trialing.
Upgrade or downgrade your plan#
Plan changes are made from the Switch plan area on the Billing Overview tab.
Switch plans
Find the Browse plans grid
On the Billing Overview tab, scroll to Switch plan / Browse plans. Use the monthly/yearly toggle to compare prices (yearly saves about 20%).
Click the plan you want
Your current plan's card is disabled. Picking any other tier starts the change. Changes are prorated and take effect immediately.
Confirm an upgrade
Upgrades go straight to a confirmation step that shows what changes and the proration. Confirm to switch. If there is no card on file, you'll be routed to add one first.
Resolve anything blocking a downgrade
If a lower plan can't fit your current usage (too many banks, feeds, members, or portals), a checklist appears listing what to clear. Use Resolve manually to jump to the relevant page, fix it, then return and continue.
Confirm the change
Once the checklist passes (or if nothing needed fixing), confirm the consequences screen to commit. A "Plan switched" message confirms the new plan.
Add-ons
Cancel or resume#
To cancel, use the quiet Cancel subscription link at the bottom of the Overview tab, or the Cancel plan tab. Cancelling stops future charges at the end of the current billing period; your access continues until then. If a cancellation is already scheduled, a banner offers a Resume option to keep the plan without interruption.
BankSync confirms the billing change before sending optional cancellation feedback. If feedback delivery has a temporary problem, the accepted cancellation still stands. When the billing provider cannot return a display date, BankSync shows generic end-of-period copy rather than treating the cancellation as failed.
Update your payment method#
Saved cards live on the Payment tab.
Add or replace a card
Open Settings → Billing → Payment
The Payment tab lists your saved payment methods, each showing the card brand, last 4 digits, expiry, and a Default badge on the active card.
Add a new card
Select Add a payment method and enter your card details in the secure form. After it's added, the list refreshes automatically.
Remove an old card
Click the trash icon next to a card and confirm in the Delete payment method dialog.
Past-due or declined card
Manage members and roles#
Team access is controlled in Settings → Members.
Invite and manage teammates
Open Settings → Members
The Members section lists everyone in the workspace and any pending invitations.
Invite a teammate
Click Invite Member, enter their Email Address, choose a Role (Admin, Editor, or Viewer), then click Send Invite. They appear under pending invitations until they accept.
Change a role
Use the role dropdown next to a member to switch between Admin, Editor, and Viewer.
Remove a member or invitation
Click the trash icon next to a member to remove them. For a pending invite, use the refresh icon to resend or the trash icon to cancel it.
Transfer ownership
As the Owner, click the crown icon next to a member to make them the new Owner.
The four roles are: Owner (full control, including billing and ownership transfer), Admin (manage members and billing), Editor (create and edit feeds and data), and Viewer (read-only). If you reach your plan's seat limit, an upgrade nudge appears with a Manage add-ons link to buy extra seats. Members who aren't the Owner can use Leave Workspace to remove themselves.
Confirm it worked#
- The Your plan card on the Billing Overview shows the expected plan name and an active (or trialing) status.
- After a plan change, you see a "Plan switched" confirmation and the new plan's limits in the Usage this month meters.
- On the Payment tab, your new card carries the Default badge.
- In Members, an invited teammate appears under pending invitations, and role changes are reflected by the badge next to each name.
Troubleshooting#
Common issues
Next steps#
Manage your feeds
Related guides#
- Changing or canceling your plan: the full upgrade, downgrade-checklist, and cancellation flows, plus what each plan includes.
- Workspaces and team members: inviting, re-roling, and removing the members you manage from Settings.
- Deleting your account: closing your account entirely, including the 14-day grace period.
Use this page with your AI assistant
Every BankSync doc is available as plain Markdown for agents and LLMs.