Set up a client portal
Create branded client portals so each client connects their own bank accounts while you manage the feeds and data from one workspace.
7 min read
On this page
If you manage bookkeeping or accounting for multiple clients, a client portal lets each client connect their own bank, card, and investment accounts in a space that carries your name. You stay in control of the data: every portal rolls up into your workspace, so you can build feeds and read every connection from one place.

Before you start
What a client portal is#
A portal is a dedicated child workspace that belongs to one client. It keeps that client's accounts isolated from your own and from your other clients, while still sitting under your single subscription.
Client-owned banks
Each client connects and authenticates their own accounts inside their portal.
Rolls up to you
You and your admins automatically have access to every portal you create.
One subscription
Every portal is covered by your plan, with no per-portal charge. Clients join free and don't use a seat. A client who wants to pay for themselves can share their own workspace with you instead.
Step 1: Create a portal#
Create your first portal
Open the Clients page
From your workspace, select Clients in the left navigation.
Start a new portal
Select the New client portal card (the dashed tile with the plus icon).
Name and brand it
In the New client portal dialog, type a Portal name (for example, the client's company). Select the icon button to the left of the name to pick an icon that represents the client.
Invite the client now (optional)
Under Invite a client (optional), enter the client's email and choose a role: Editor or Viewer. You can also leave this blank and invite later.
Create it
Select Create portal. BankSync opens the new portal and, if you entered an email, sends the invitation right away.
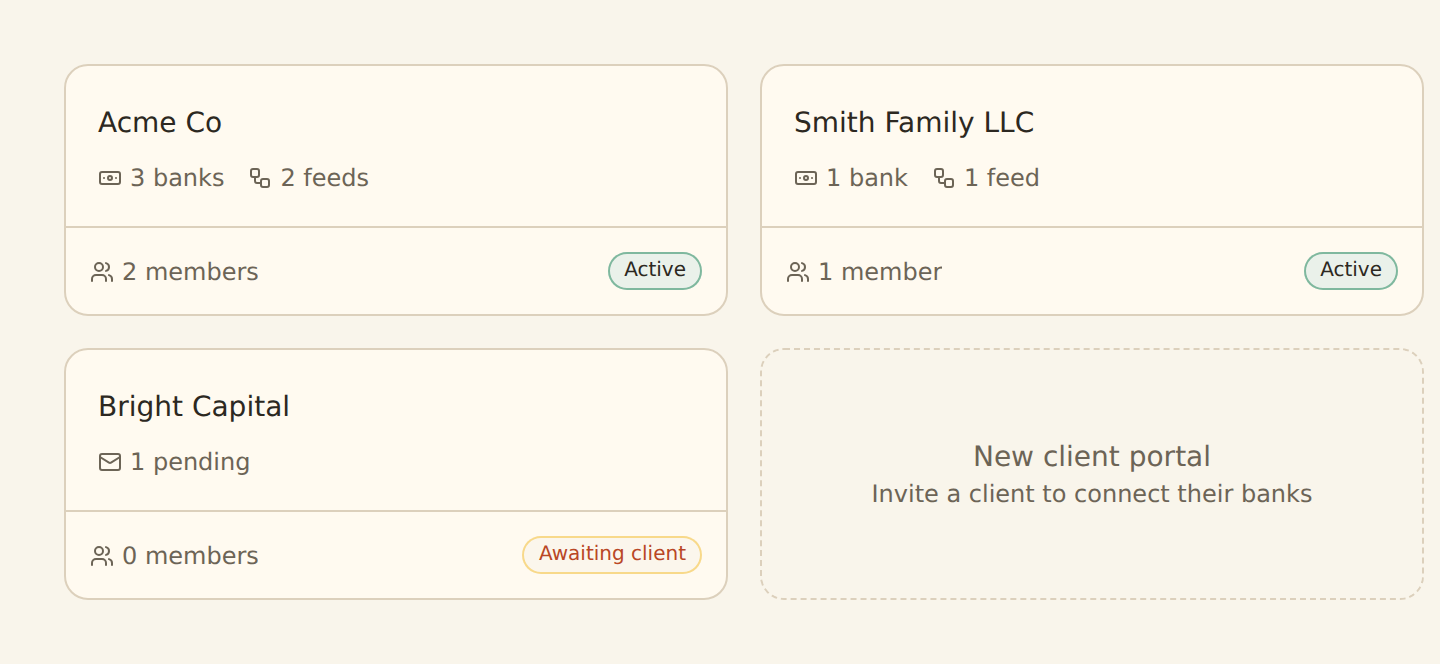
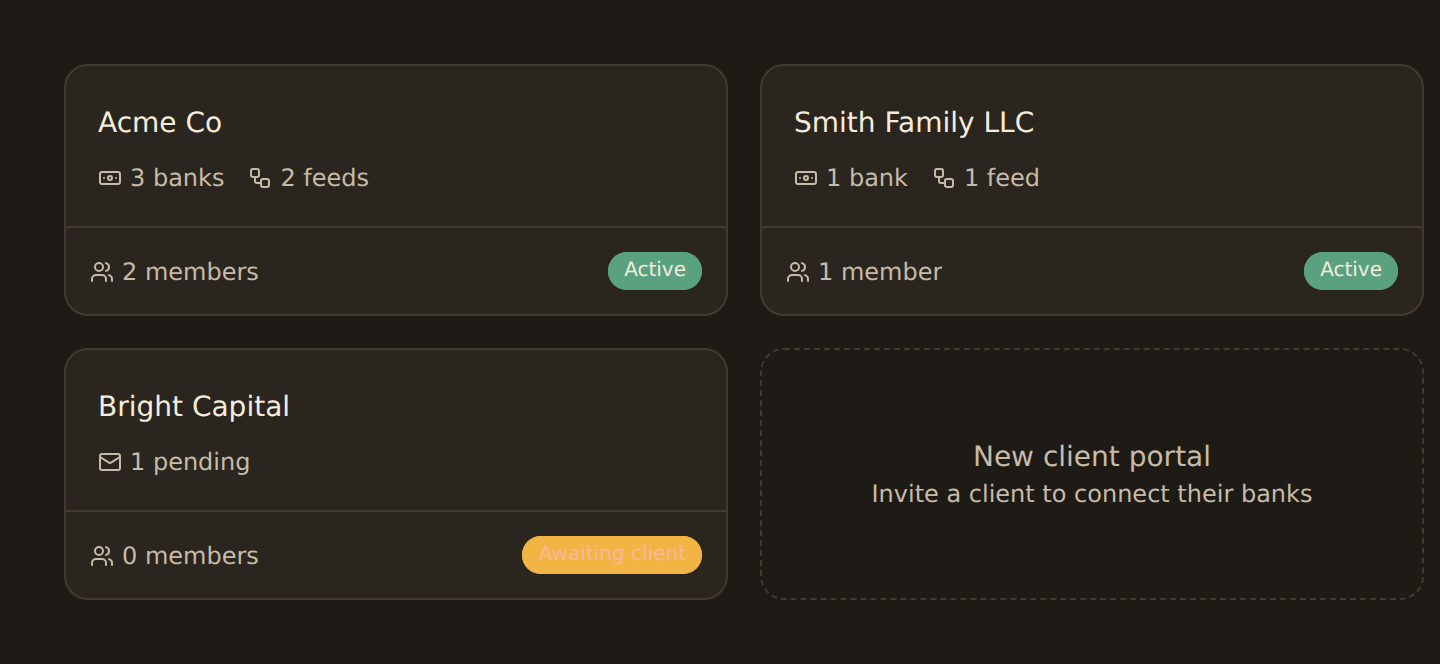
A portal's branding is its name and icon. There is no separate logo or color upload: the name and icon are what your client sees on the invitation and inside their portal.
Step 2: Set what clients can do#
Open the portal (select its card) to reach its settings. The Access tab holds the Client permissions that govern what people invited to this portal can do:
- Clients can connect banks when on, the client can add their own bank connections. When off, only you (the owner) can add bank connections to this portal.
- Clients can create feeds lets the client write data into Google Sheets, Notion, or Airtable, including connecting new integrations.
Use the Resources tab to control what this portal works with. It shows at-a-glance counts (Banks, Feeds, Members, and more), and it is where you pick which of your banks, feeds, and integrations the client portal can see, so a client only ever sees the resources that belong to their engagement. You can also set optional per-portal Resource limits such as Max banks. Leave a limit blank for no per-portal cap. Per-portal limits always sit under your plan's overall quota.
Portals and your plan#
- Unlimited portals. Professional, Business and Enterprise include as many portals as you need, with no per-portal charge.
- Banks count against your quota. Every bank connected inside a portal counts against your plan's bank connection quota, which pools across your workspace and all its portals. When you need more, add extra bank connections from billing.
- Clients don't use a seat. Clients you invite into a portal join as a viewer or editor and don't count toward your team seats.
- During a trial, your portals can hold up to 5 bank connections in total. The limit lifts when your subscription starts.
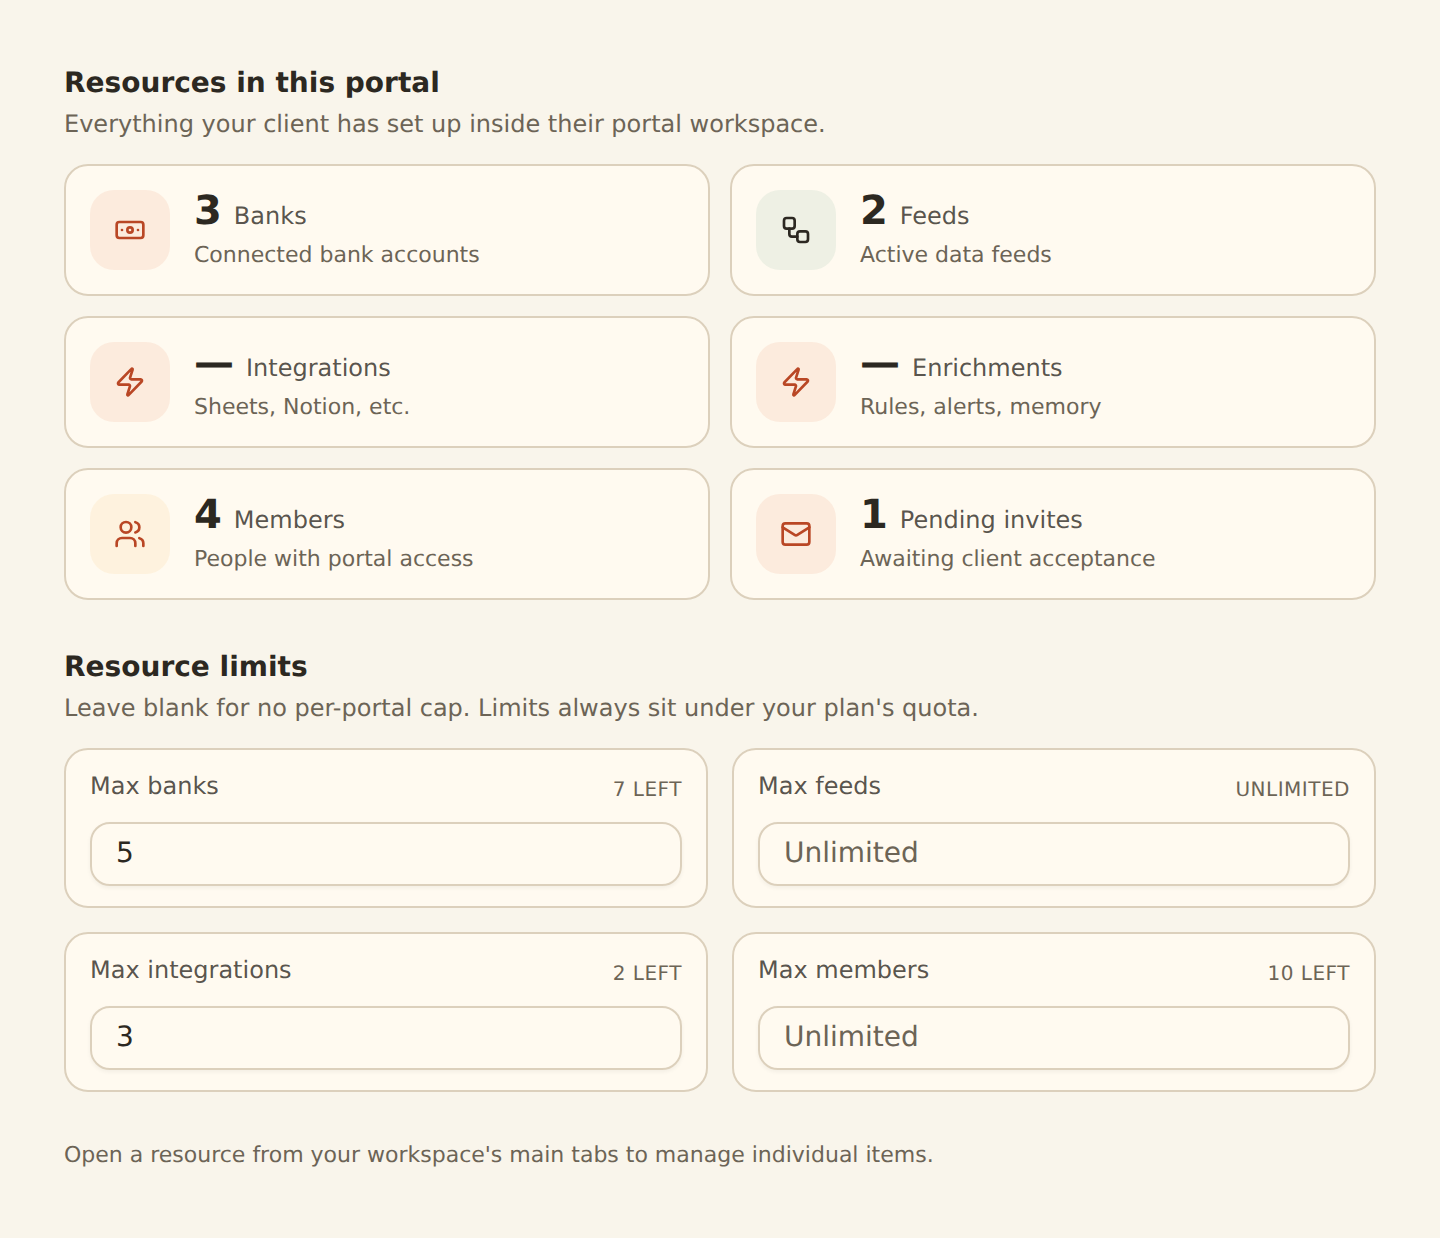
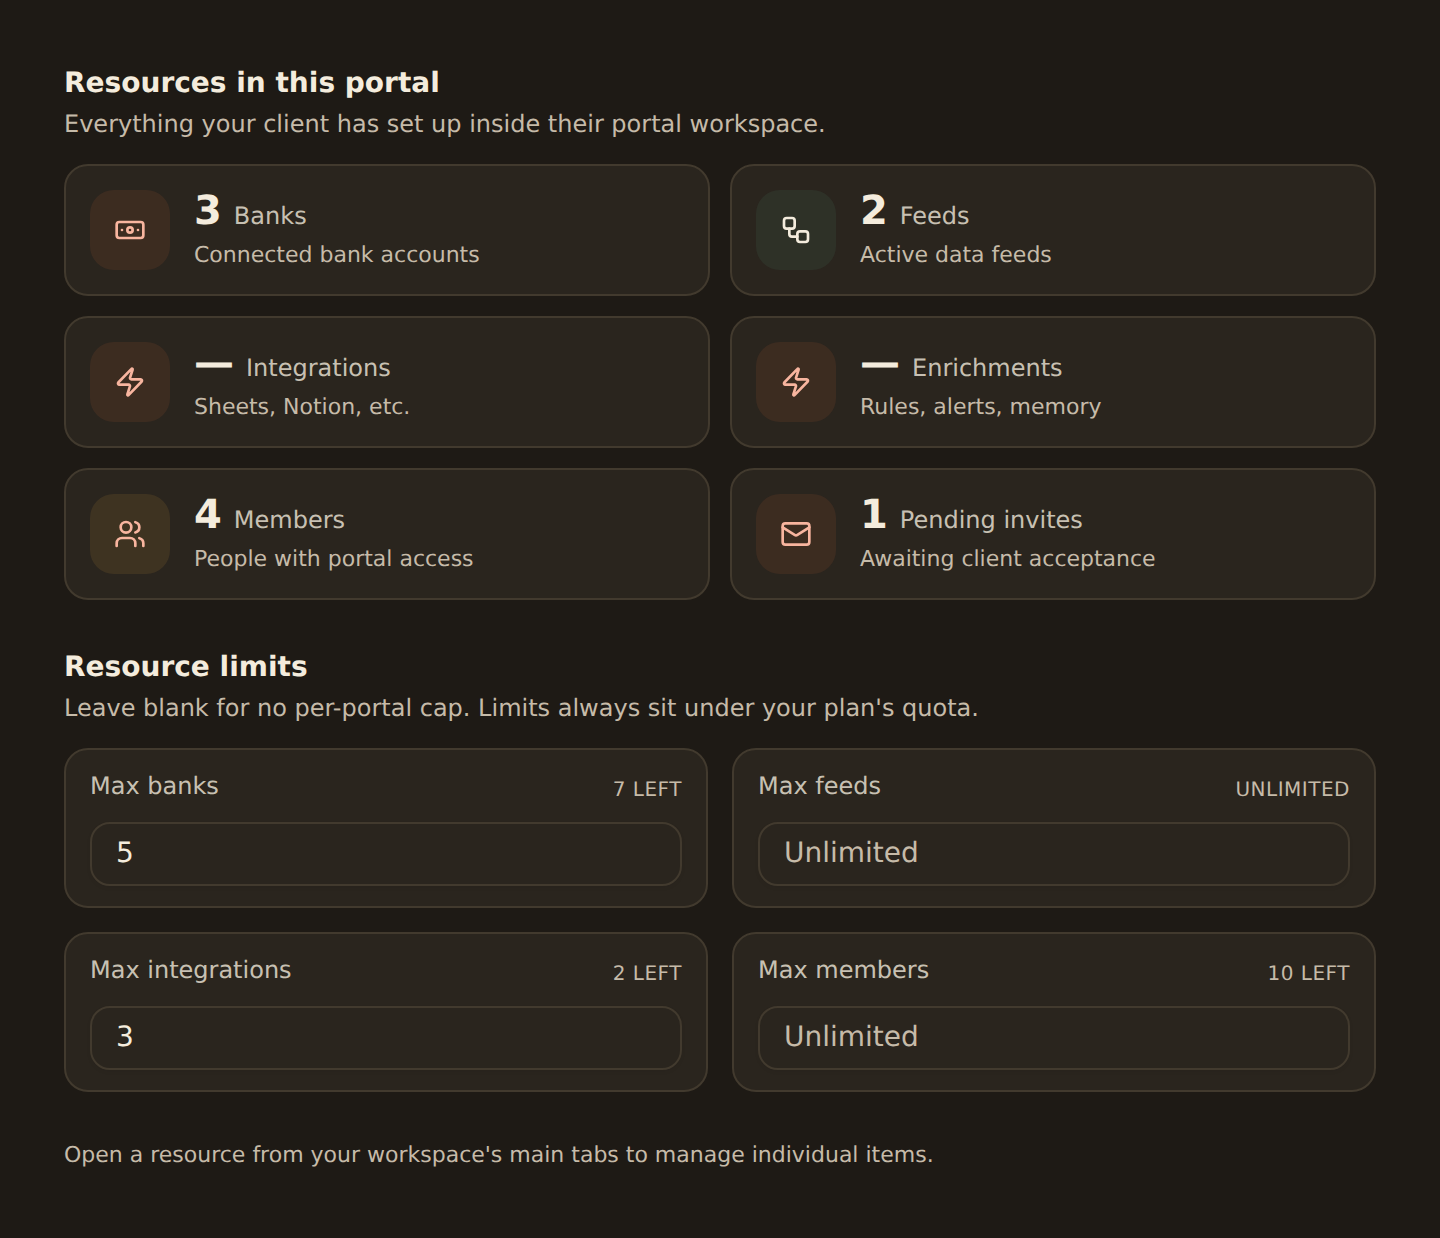
Changes on these tabs save automatically; a small badge in the dialog header confirms when a change is saved.
Step 3: Invite the client#
If you did not invite anyone during creation, open the portal and go to the Members tab.
Send an invitation
Enter the client's email
In the Invite a client section, type the client's email address.
Choose a role
Pick Editor or Viewer. Editors can connect banks; viewers can only see status.
Send it
Select Send invite. The client receives an email with a link to sign in (or create a free BankSync login) and connect their bank.
Or send a request: no account needed
The invitation appears under Pending invitations until the client accepts. From there you can copy the invite link, resend the email, or cancel the invitation. Invitation links expire after 7 days; use the resend action to issue a fresh one.
What the client sees and does#
When the client opens the invite link, they sign in or create a free BankSync login; they don't need a subscription. As they accept, they confirm they're happy to share with your firm on one screen that names your firm. They can stop sharing later, which ends your access. They then land directly in their own portal. They do not see your other clients or your main workspace. If you gave them the Editor role and left Clients can connect banks on, they:
- Choose to add a bank connection.
- Authenticate with their bank through the secure connection flow (the same flow described in Connecting banks).
- See their connected accounts inside the portal once the connection completes.
Australian banks (Consumer Data Right) work in client portals too: the client connects them after confirming they're happy to share with your firm.
Viewers can sign in to see status but cannot connect banks or create feeds.
How the data flows back to you#
Because a portal is a child workspace under yours, you and your admins have access without a separate invitation. Once a client connects an account in their portal, that connection and its data are available to you. You can build and manage feeds that read from the portal's banks, so the client handles authentication while you handle the reporting. For programmatic access across all portals at once (the scope=family parameter), see the developer portals reference.
Confirm it worked#
You have set up a portal correctly when:
- The portal appears as a card on the Clients page with the name and icon you chose.
- Portal cards sit under Portals you pay for, which shows how much of your plan's bank connections and feeds your portals use. Your clients never take a seat, but every bank they connect counts toward your plan. Workspaces clients pay for themselves sit under Shared with you.
- The client's invitation shows under Pending invitations (before they accept) or the client appears under Members (after they accept) on the Members tab.
- After the client connects an account, the Resources tab shows a non-zero Banks count.
Troubleshooting
Next steps#
Once a client has connected their accounts, set up a feed to send that data into your reporting tools.
Create your first feed
Related guides#
- What your clients see: the same flow from the invited client's side, including role limits.
- Ask a client for bank data and answers: one email link, a code instead of a password.
- Share your workspace with your accountant: clients who own and pay for their own workspace, and the Shared with you section of your Clients page.
- Hand a portal over to your client: your client takes over paying, with no reconnect.
- Creating your first feed: build the feed that reads from your client's newly connected banks.
- Changing your plan: portals are unlimited on Professional, Business and Enterprise.
- Workspaces and team members: how roles and membership work in your main workspace.
Use this page with your AI assistant
Every BankSync doc is available as plain Markdown for agents and LLMs.