Extract and sync document data
Use the Document Extractor to pull structured data from receipts, invoices, and bank statements and sync it to your connected destinations.
2 min read
On this page
The Document Extractor captures structured data from documents you forward or upload (receipts, invoices, bank statements, and more), using AI to pull out merchants, amounts, dates, and line items automatically, then writes the results as rows in your connected sheet, database, or table.
A Document Extractor is a kind of feed: you create one from the Feeds tab, and each extractor feed gets its own unique email forwarding address plus a manual upload area. If you have not created one yet, start with Set up the Document Extractor.
AI Extraction
Automatic data extraction from images
Email Forwarding
Forward receipts via email
Review & Edit
Verify data before syncing

Receipt Data Fields#
Merchant
Store or vendor name
Date
Purchase date
Total
Total amount
Tax
Tax amount
Items
Line items purchased
Currency
Currency code
Category
Expense category
Image URL
Link to receipt image
How to Submit Receipts#
Email Forwarding#
Email Setup
Get your forwarding address
Open your Document Extractor feed from the Feeds tab and copy its mailbox address from the Sources tab. It looks like quiet-otter-7f3k@inbox.banksync.io (older feeds also keep an extract+your-document-id@receipts.banksync.io address).
Forward receipt emails
Forward any email with a receipt attached (PDF, JPG, or PNG, up to 10 MB) to that address, or set up an auto-forward rule. You can optionally turn on allowed senders so only forwards from addresses you trust are processed.
Review the results
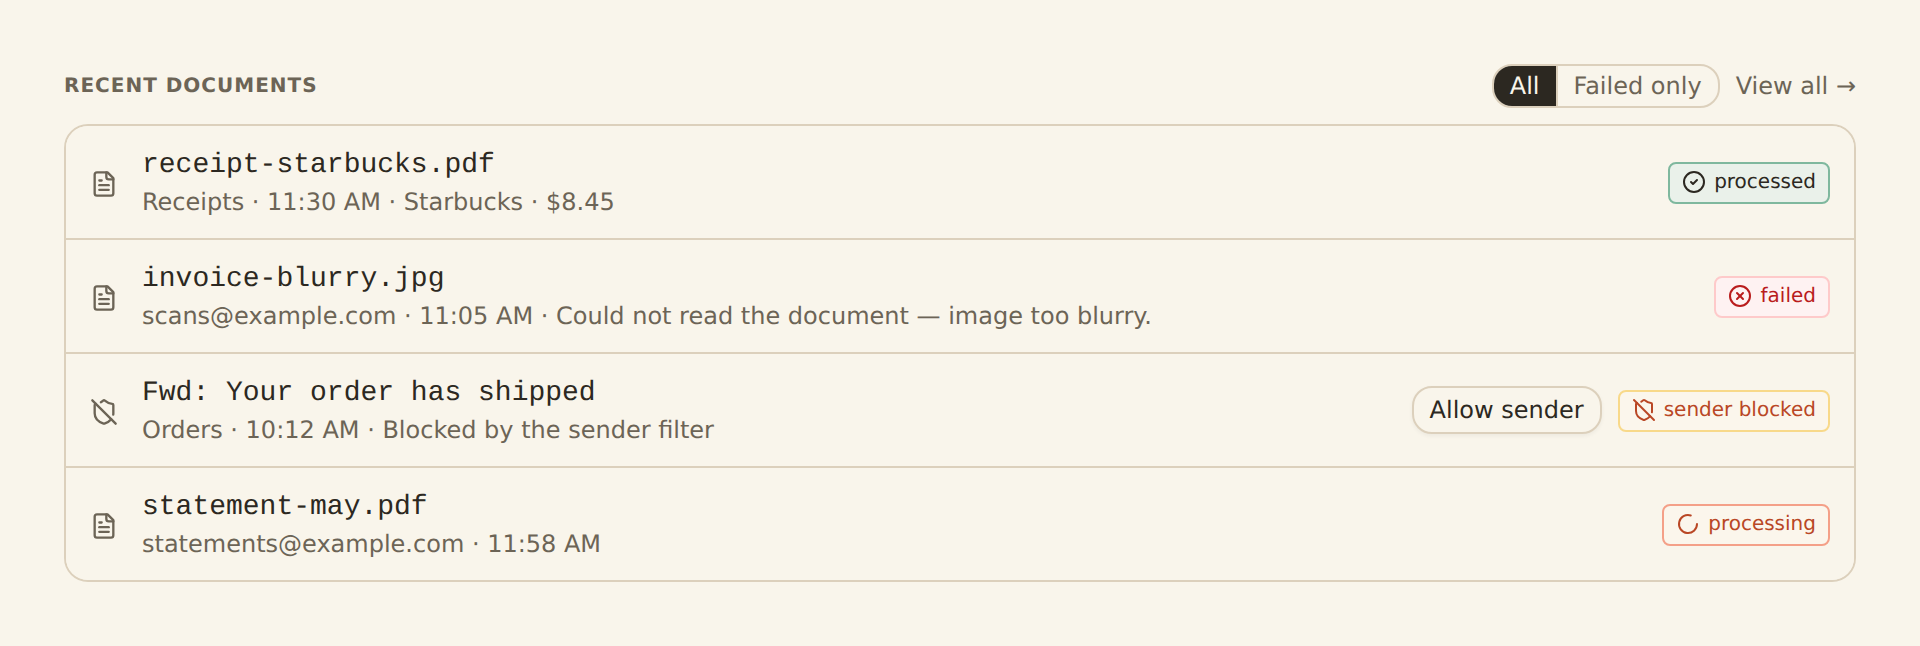
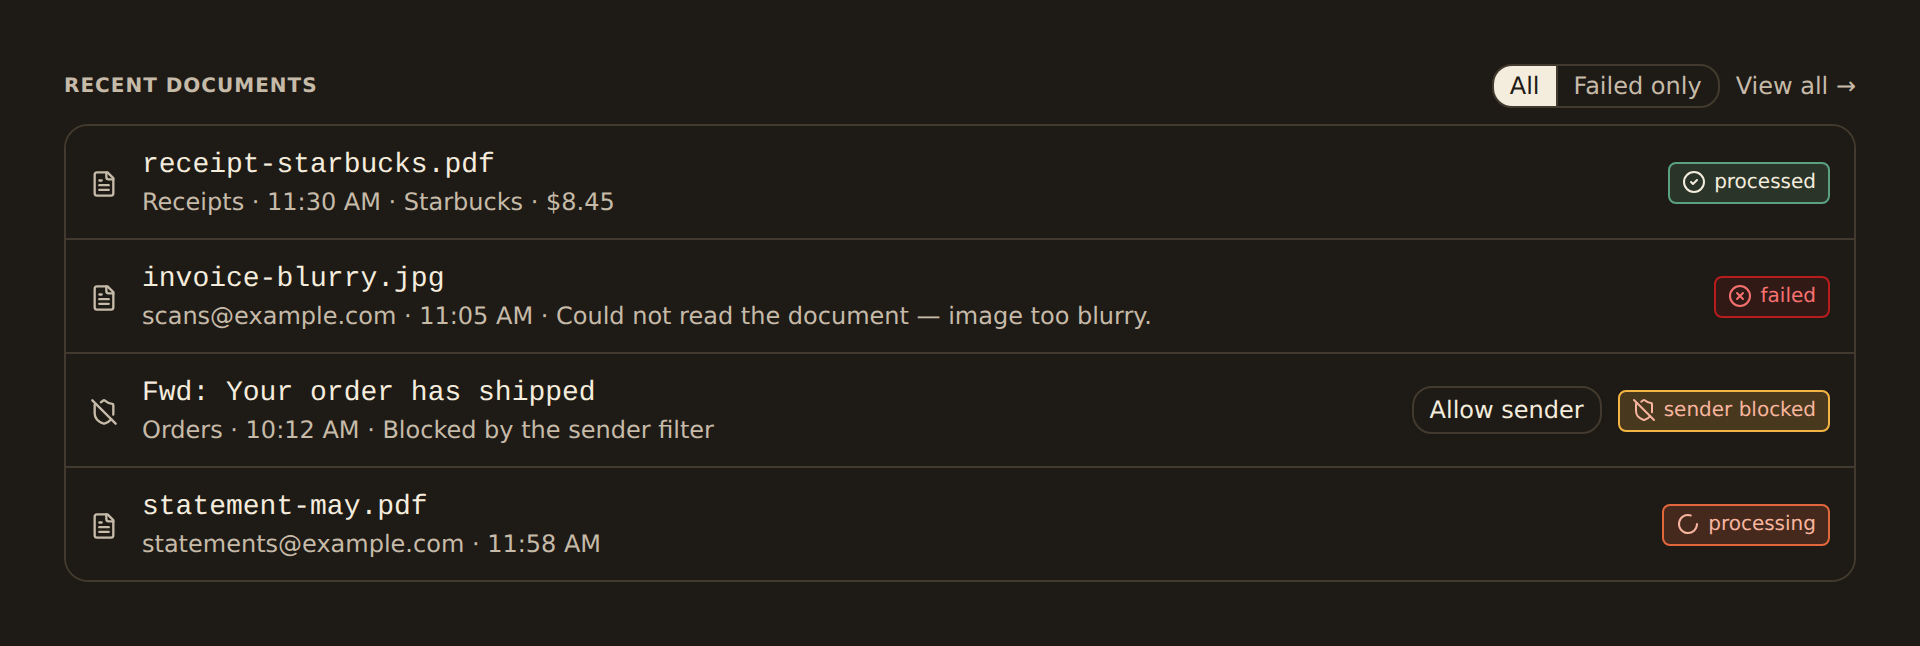
Open the feed's history to watch the job move from Processing to Completed, then check the new row in your connected sheet, database, or table.
See Sending documents by email for the full forwarding setup, including allowed senders.
Direct Upload#
Upload Process
Open the Sources tab
Open your Document Extractor feed from the Feeds tab and go to its Sources tab.
Add files to Manual Upload
Drag PDF, JPG, or PNG files (up to 10 MB each) onto the Manual Upload area, or click to browse.
Wait for processing
AI extracts data within seconds. Review the results in the feed's history and in your connected sheet, database, or table.
Monthly document quota
Best Practices#
Image Quality
Always Review
AI extraction is accurate but not perfect. Review data before syncing to catch any errors.
Consistent Categories
Use consistent category names across receipts for better reporting and analysis.
Process Promptly
Upload receipts soon after purchase while details are fresh in your memory.
Auto-Forward
Set up email filters to auto-forward digital receipts to save time.
Set up the Document Extractor
Related guides#
- Set up the Document Extractor: create the extractor feed and walk through every tab.
- Sending documents by email: the mailbox address, allowed senders, and manual upload in detail.
- Map extracted fields to your destination: connect each extracted field to the right column.
- Managing your plan: see your monthly document usage against your plan's quota.
Use this page with your AI assistant
Every BankSync doc is available as plain Markdown for agents and LLMs.