Set up the Document Extractor
Set up the Document Extractor to automatically process receipts, invoices, and bank statements from email forwarding or direct uploads.
3 min read
On this page
The Document Extractor automatically extracts data from documents (receipts, invoices, and bank statements) and syncs it to your connected sheet, database, or table. Process documents by forwarding emails or uploading files directly.
Before you start
A Document Extractor feed is a kind of feed, so you create it from the Feeds tab and configure it across four tabs: Document, Sources, Destination, and Mapping. Progress autosaves as you go.
Create the feed
Open Feeds and add a feed
In the Feeds tab, choose Add feed to start a Document Extractor.
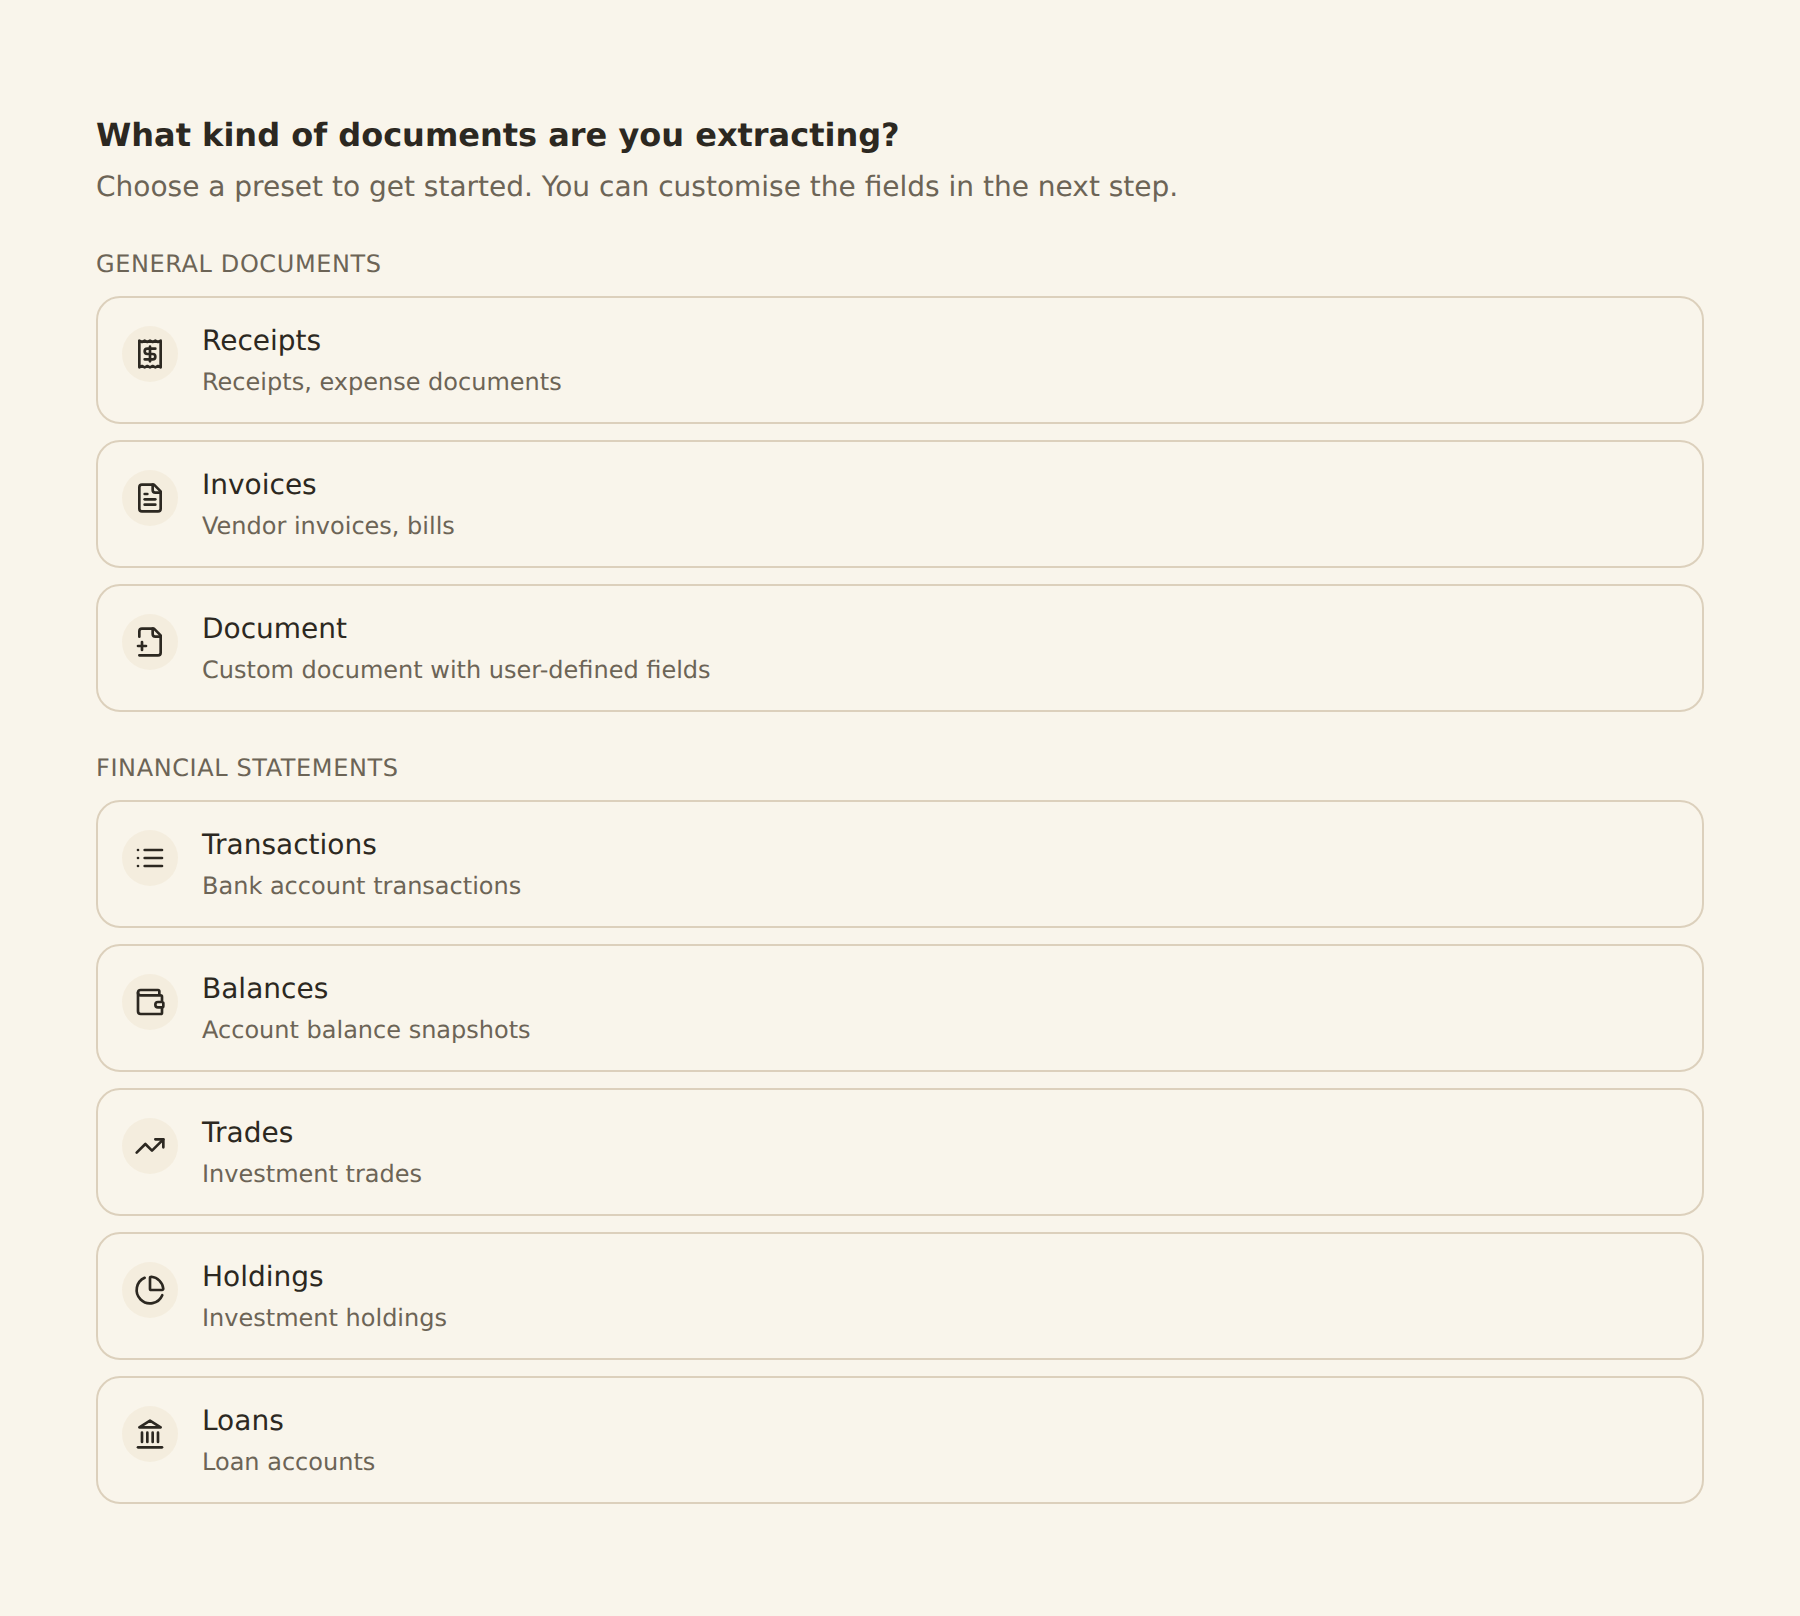
Pick what you are extracting
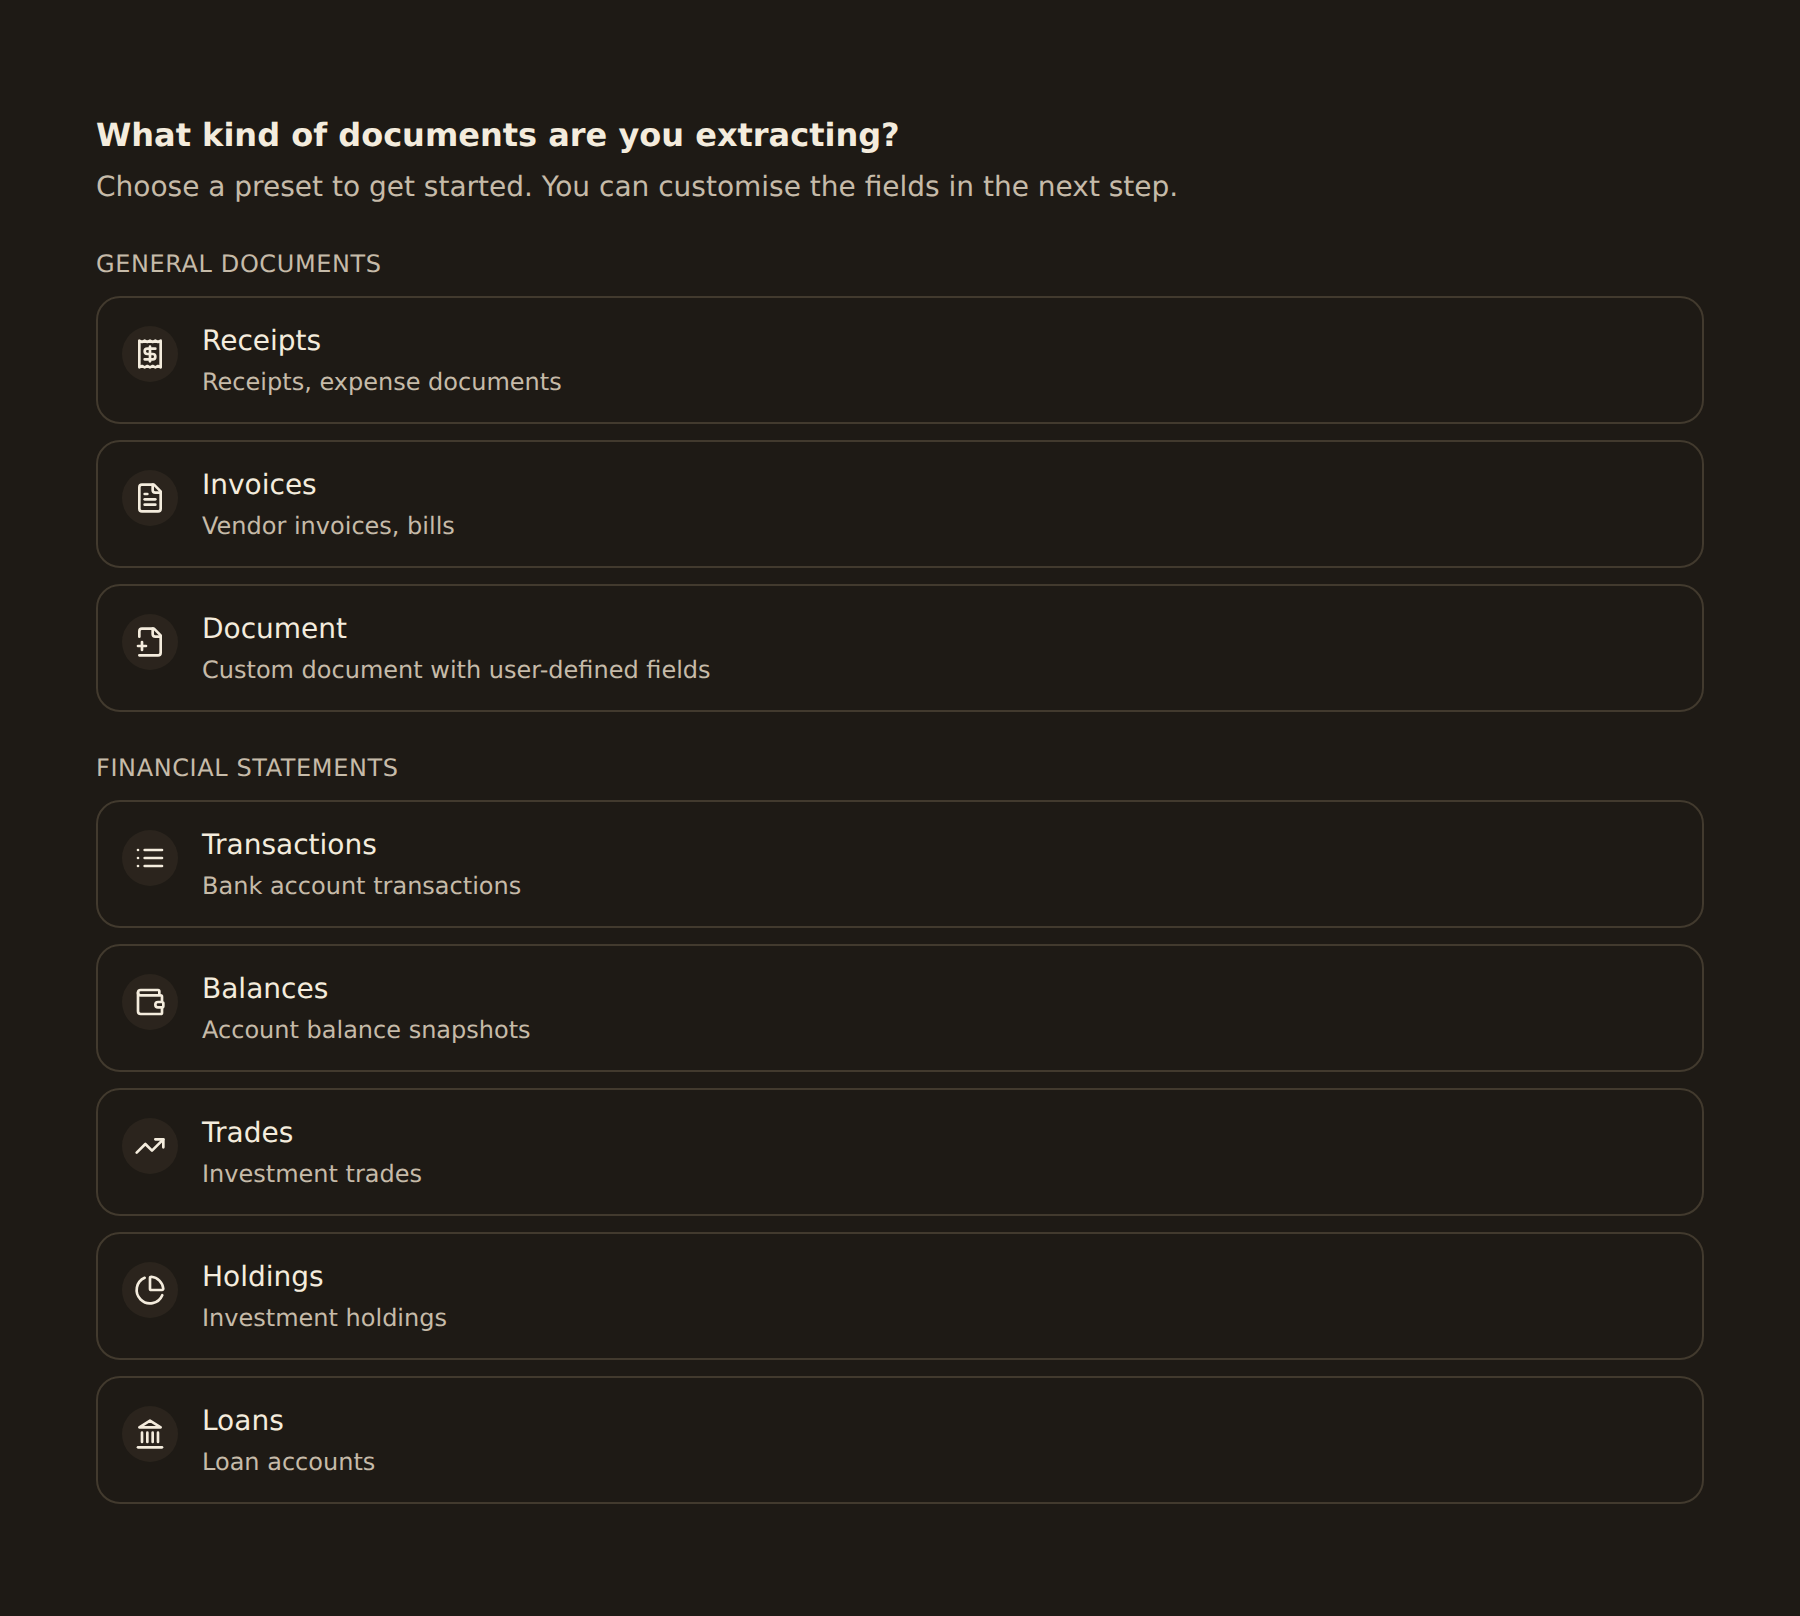
When prompted "What kind of documents are you extracting?", choose a preset under General Documents (Receipts, Invoices, Document) or Financial Statements (Transactions, Balances, Trades, Holdings, Loans). For a bank statement, choose Transactions.
Name it
Give the feed a name like "Receipts" or "Vendor invoices" so it is easy to find later.

1. Document: choose what to extract#
The Document tab is where you confirm the document type and which fields to pull out.
Confirm the document type
The Document tab shows the preset you picked (for example Receipts or Invoices). Switch presets here if you chose the wrong one.
Review the extraction fields
Each field (for example merchant, date, total, tax, line items) shows what the AI will pull out. Keep the ones you want and remove any you do not need.
Reset to preset (optional)
If you edited the fields and want to start over, use Reset to preset to restore the defaults for that document type.
Mixed documents
2. Sources: how documents arrive#
The Sources tab is where documents come in. You can use email forwarding, manual upload, or both.
Mailbox
Copy your mailbox address
Each feed has a mailbox with its own email address. Copy it from the Sources tab.
Forward documents to it
Forward any email with a document attached (or set your email client to auto-forward from specific senders). Attachments are picked up automatically.
Restrict senders (optional)
Add addresses to allowed senders so only forwards from people you trust are processed.
Manual upload
Drop files in
Drag PDF, JPG, or PNG files onto the upload area (up to 10 MB each), or click to browse.
Watch them process
Each file becomes a job and is extracted within seconds. Recent documents and their status appear in the list.
3. Destination#
Choose where extracted data lands. This works the same as a sync feed: pick a connected integration, then the specific sheet, database, or table.
4. Mapping#
The Mapping tab connects each extracted field to a column in your destination. It has subtabs: Fields, Enrichments, and (once a destination table is chosen) Advanced.
Fields: map to columns
On the Fields subtab, select the column in your sheet, database, or table that each extracted field should write to. Unmapped fields are skipped.
Enrichments: clean values (optional)
On the Enrichments subtab, attach enrichments that clean or categorize values before they are written — rulesets, lookup tables, filters, and alerts all run on extracted receipt data.
Advanced: choose a row layout
On the Advanced subtab, set Itemization: Row Per Document for one row per receipt/invoice, or Row Per Item for one row per line item.
Configure field mapping
Confirm it worked#
Forward an email or upload a file, then open the feed's history. The job should move from Processing to Completed (or Failed if something went wrong), and a new row should appear in your connected sheet, database, or table with the extracted values.
If a document does not appear
Related guides#
- Sending documents by email: the mailbox address, allowed senders, and manual upload in depth.
- Map extracted fields to your destination: per-app mapping tips and row layouts.
- Extract and sync document data: the overview of what the Document Extractor captures.
- Managing your plan: check document usage against your monthly quota.
Use this page with your AI assistant
Every BankSync doc is available as plain Markdown for agents and LLMs.