Sending documents by email
Send documents through workspace mailboxes, manage allowed senders and the mailbox log, and understand legacy per-feed addresses and manual upload.
5 min read
On this page
Send receipts, invoices and statements to a workspace mailbox, then let its attached Document Extractor feeds extract the fields and write rows to their destinations. A mailbox can send to several feeds, and a feed can receive from several mailboxes. Each mailbox has an address, allowed-sender settings and a log of every email it received.
Some feeds still show a legacy per-feed address instead. The steps below explain both states; use the controls your feed actually shows.
Before you start
Save the Document Extractor feed and configure its destination and field mappings so documents have somewhere to land. You need permission to edit workspace resources to create mailboxes or change their settings. Document processing counts against your plan's document allowance.
The Document tab chooses what to extract. The Sources tab shows how documents arrive: attached mailboxes, or the legacy address for a feed without a mailbox, plus Manual Upload. This guide covers sending documents; see Mailboxes: send documents by email for mailbox creation, routing, held mail, pause and trash details.

Copy a mailbox address#
Find the mailbox for your feed
Open the extractor feed
From Feeds, open your Document Extractor feed and select Sources.
Find Mailboxes
If a mailbox is attached, the Mailboxes section lists its name and address. Copy the address shown there. Mailbox addresses look like quiet-otter-7f3k@inbox.banksync.io; copy your own address rather than typing this example.
Review the mailbox
Choose its name to open it, or Manage mailboxes to open the Mailboxes page. Check its attached feeds before sharing the address: every attached feed processes documents delivered to it.
Where offered, Attach existing mailbox… connects another workspace mailbox to this feed, and New mailbox for this feed creates one already attached. You can also manage routing from Mailboxes, under More in the workspace header.
If Sources instead shows Email Inbox and Whitelist emails, follow the legacy-address steps below. When available, Create mailbox beneath those controls creates a mailbox for this feed. Its mailbox summary then replaces the legacy address and whitelist controls. Mailboxes may not be enabled in every workspace; the legacy controls remain available there.
Choose who may send#
Open the mailbox and find Allowed senders. It initially allows anyone to send. To restrict it:
- Add an exact address, such as
ap@supplier.com, or a domain, such as@supplier.com. A domain entry covers that domain, not its subdomains. - Prepare the list, then turn on Only allowed senders. You can edit the list before enabling the restriction.
- Remove an entry when it should no longer be allowed.
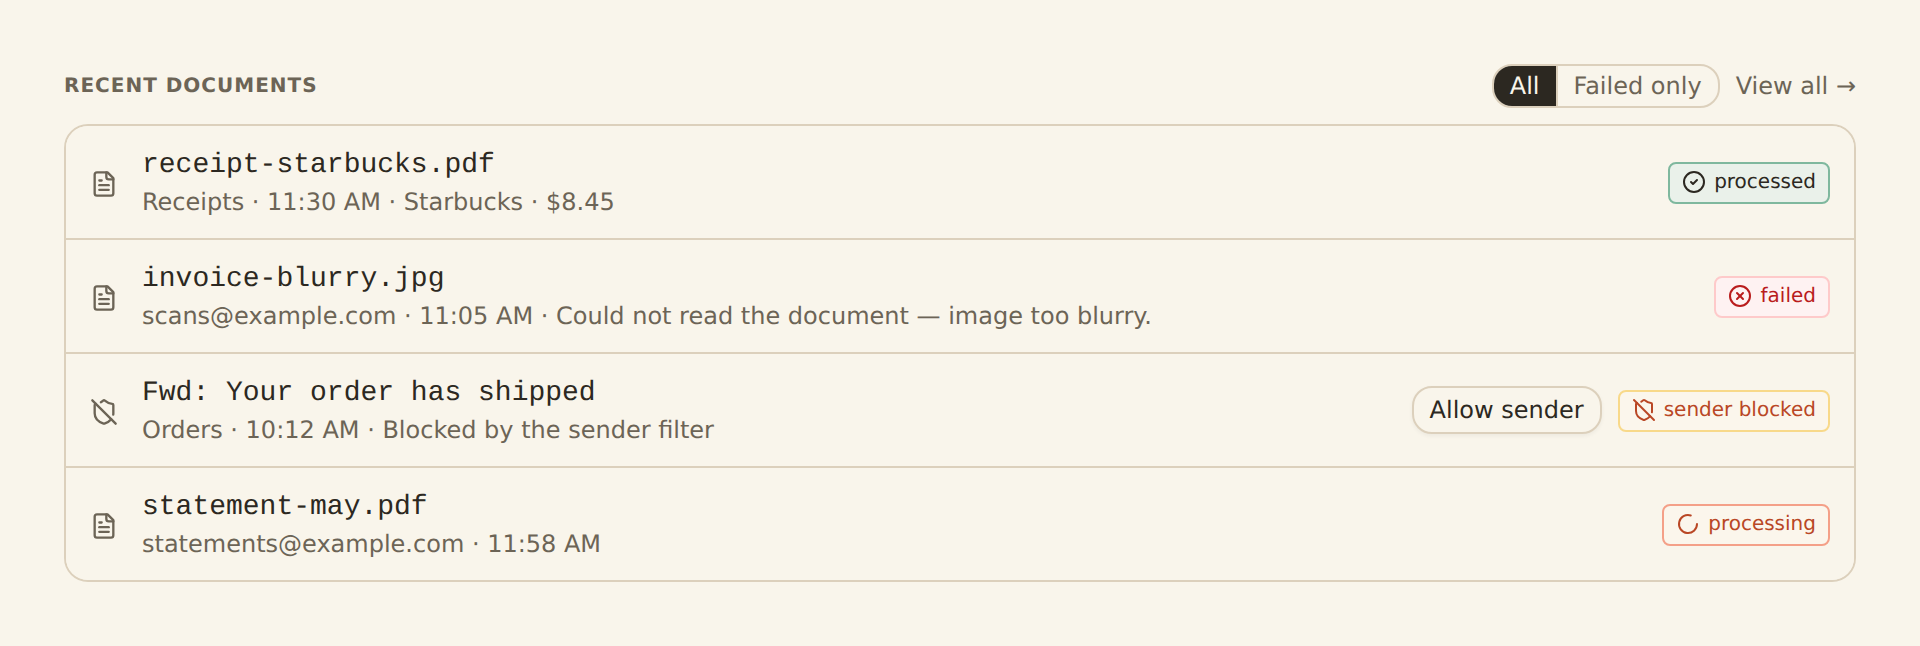
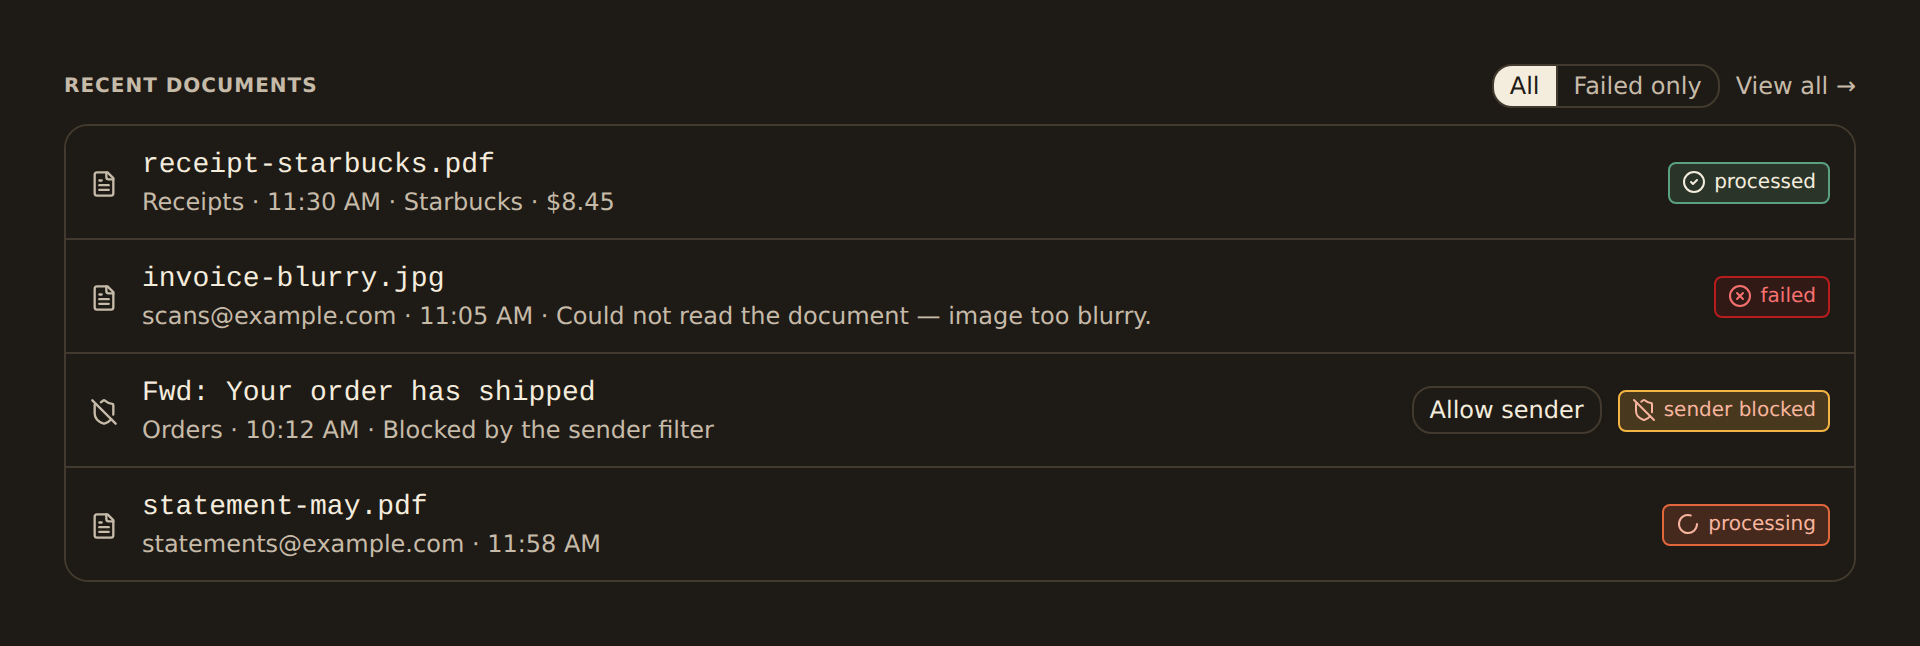
The restriction belongs to the mailbox and applies to all its attached feeds. An allowed sender only counts when BankSync could confirm the email really came from that address. Mail from a sender not on the list, or from an allowed sender that could not be confirmed, is Held in the mailbox log; Allow sender or Release on that row lets it through. Check the recorded sender before allowing it.
Forward a document and check delivery#
Send to the copied address
Forward a message with a receipt, invoice or statement attached, or give the address to a supplier. You can set up an automatic forwarding rule in your mail client too.
Read the mailbox log
Open the mailbox's log to see whether the email reached BankSync and what happened. Received means the attached feeds were started; it does not by itself mean extraction and destination writes have finished. Held or filed messages show their reason.
Inspect the feed's result
Open the feed's History. Review its processing status, extracted values and destination writes, then check the resulting row in your destination.
A mailbox with no feeds attached can receive and log email without starting extraction. Attach the intended feed and send the document again. If there is no log row, check the exact address and whether your mail provider actually sent the message. For the full list of log outcomes and email limits, see Why an email may not show up.
If your feed still shows a legacy address#
A saved feed with no attached mailbox can still show Email Inbox with an
extract+... address and a Copy button. An unsaved feed instead asks you to save it first.
Copy the address displayed by BankSync; this legacy address targets that feed, rather than a
mailbox's set of attached feeds.
In this legacy view, Whitelist emails is a checkbox on the Sources tab. Enable it to show the email-address field, then add senders with Add or Enter. Remove an address with the X beside it. These are the legacy feed's controls, not the mailbox's Allowed senders switch and address-or-domain list.
Existing legacy addresses keep working when a feed moves to mailboxes, so you do not need to replace existing forwarding rules merely because its Sources tab now shows a mailbox. Use the mailbox's address for new rules, and read its log for messages sent through a legacy address. See Your old extract+ addresses.
Upload files manually instead#
The same Sources tab has Manual Upload, whether the feed uses mailboxes or the legacy address. Save the extractor and configure its destination first; unavailable uploads explain what still needs configuring.
Add files
Drop files into Manual Upload or click to browse. Supported types are PDF, PNG, JPG, WEBP, HEIC and TIFF, with a 10 MB limit per file.
Watch the queue
The list shows queued, uploading, processing, successful or failed files. Review a failure's message before trying again.
Inspect the result
Check the feed's History and the rows written to your destination. Removing a finished file from the upload list only clears that list entry.
Troubleshooting#
| What you see | What to check |
|---|---|
| No email in the mailbox log | Check the copied address and your mail provider's sent or forwarding log. |
| Held: sender not allowed or unverified | Review the recorded sender, then Allow sender or Release. |
| No feeds attached | Attach the intended extractor feed, then send the document again. |
| Email received but processing failed | Open the feed's History and inspect the job's failure details. |
| Job completes without the expected row | Review extracted values, mapped fields and destination writes. |
| Manual upload is unavailable | Save the feed and complete the configuration named by the disabled upload control. |
| File upload is rejected | Check the displayed type, size or empty-file error. |
| Monthly document allowance reached | Review usage and plan options before sending more documents. |
Related guides#
- Mailboxes: send documents by email.
- Set up the Document Extractor.
- Map extracted fields to your destination.
- Extract and sync document data.
Use this page with your AI assistant
Every BankSync doc is available as plain Markdown for agents and LLMs.